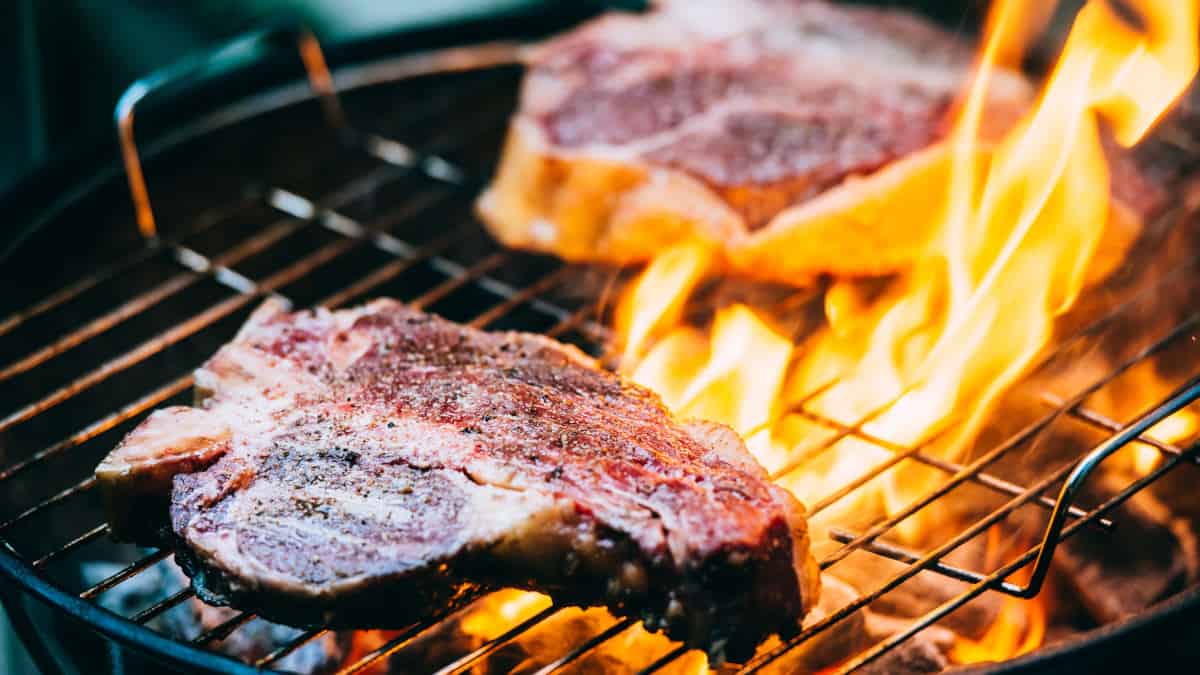
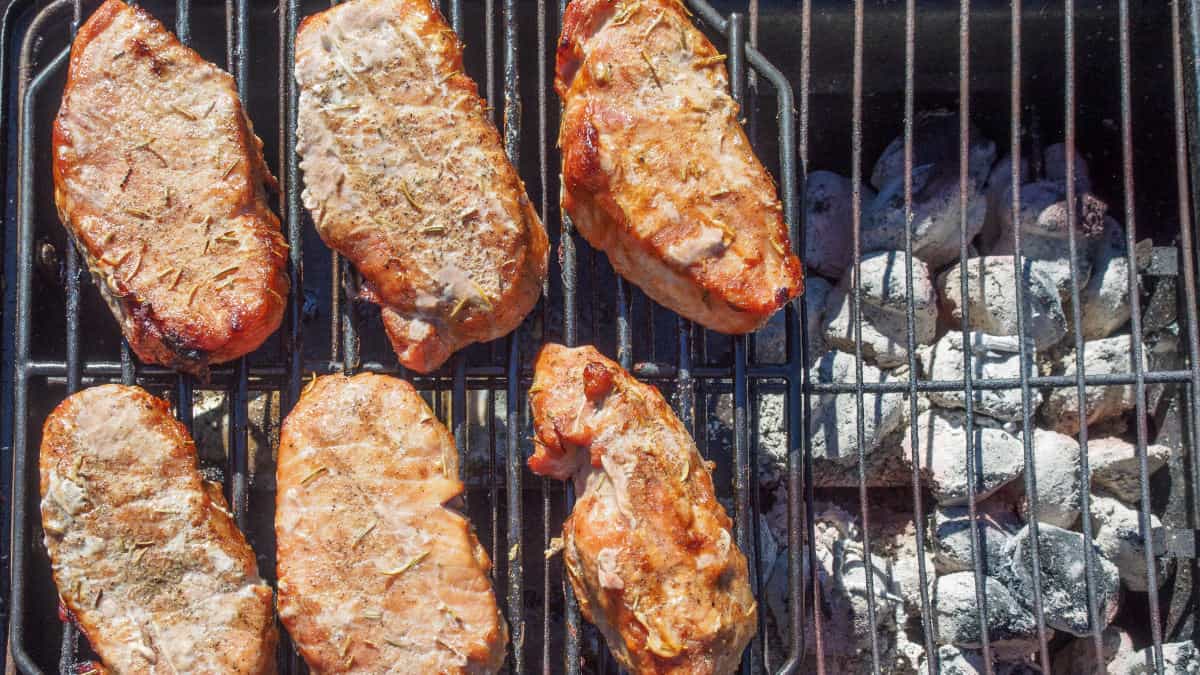
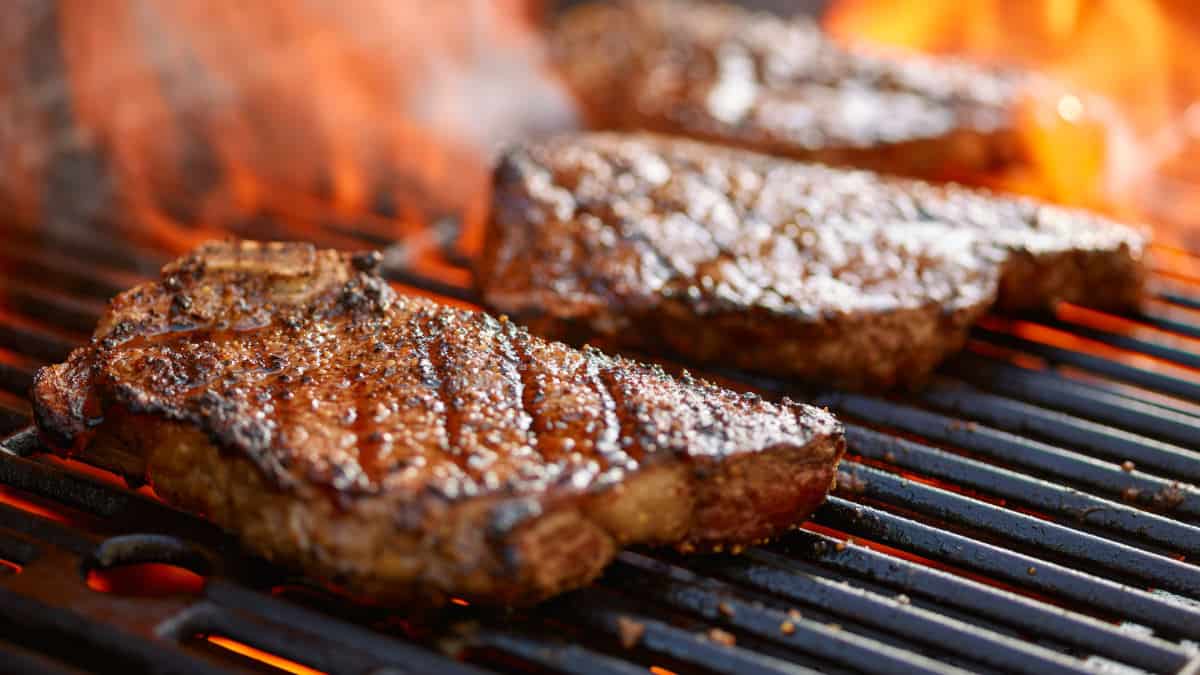
Do you ever feel a bit of confusion as to how long to grill a steak? Truth be told, it can be challenging to know how long and at what temperature to cook all the many different cuts.
Getting the time, temperature, and technique wrong can be detrimental to the meat — and more often than not, you’ll end up with overcooked, undercooked, over-charred while raw in the middle, or something resembling shoe leather steak.
So to help, I decided to create a complete list of all the temperatures, cooking times, and techniques to use for all the different cuts, so you can cook your steak to perfection.
If you’re ready to get your steak on, let’s get started!
Technique Depends on Thickness
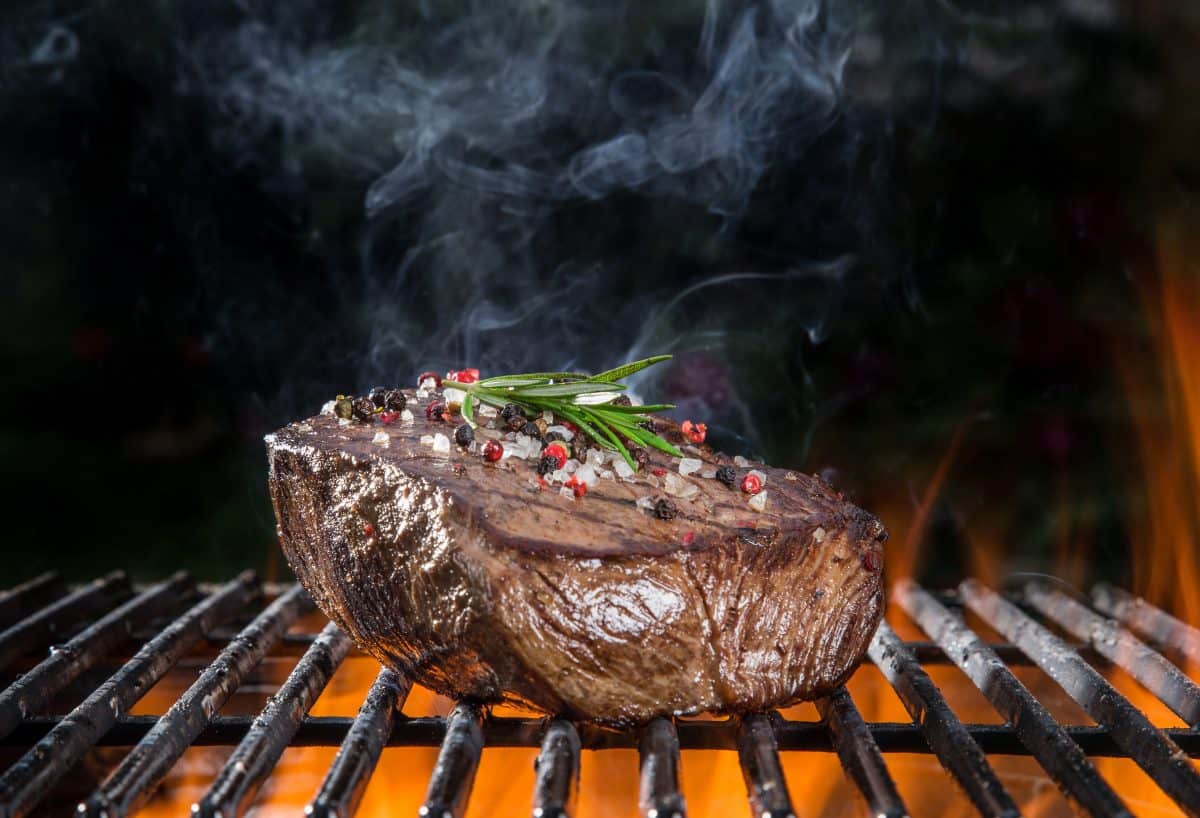
Thin steaks need only a hot and fast grill, while thicker steaks need grilling AND a little time to cook through at a lower heat.
So, before we jump into the various cuts, let’s focus a little on thickness and how you should tackle cuts differently depending on their size.
The thickness of a steak is essentially what determines how long it should be grilled and what technique to use as follows.
1 1/2 Inch+ Thickness
Grilling this thickness quickly over high heat won’t do you much good. However, you don’t want to lower the temperature too much as this will prevent that tasty seared bark from forming.
For steak this thick, it’s best to use a combination of both high and low heat.
Turn the heat up to the highest temp and sear the thick steak quickly on both sides to get a nice, deep, dark, and flavorful sear.
Once you’ve achieved a nice sear, turn the heat off directly under the meat – or move it away from hot coals – to cook it nice and slow until it’s done to your preference. This is also known as indirect cooking.
You can also go for the reverse sear technique instead. It’s pretty much as it sounds — start by cooking your steak slowly over low heat, then cook it on both sides over high heat as it nears the end. This will give the steak those beautiful grill marks and to-die-for caramelization.
It’s crucial to check your thick steak’s doneness using a reliable meat thermometer to ensure it’s cooked to a safe internal temp.
1-1 ½ Inch Thickness
This is a pretty easy thickness and doesn’t need much fiddling about with the temperature.
Keep it hot and fast to get a nice mahogany crust while keeping the center nice and pink. We don’t want to see any dull gray hues on the inside.
Set your grill to the highest heat possible, add the steaks and turn them just a quarter turn after minutes; this will give them pro-looking grill marks. Turn the steaks and cook on the other side. Once done, remove the meat from the grill and allow them to rest for up to three minutes.
Less Than 1 Inch Thickness
This thickness calls for ultra-quick and hot grilling, with a preferred technique being the “afterburner method.”
It can’t get much hotter than this — only if you threw the meat directly into the open fire, but we’re not going to take it that far.
For this method, you need a charcoal chimney. Light it up as usual with coals on the inside and newspaper underneath. Place a grill grate over the chimney and cook the thin steaks directly above the chimney for up to three minutes on each side.
Because of the compressed size of the chimney, the heat will be incredibly intense. However, you won’t be able to cook more than one or two steaks at a time, depending on the size of the chimney’s opening.
How Long to Grill Steak
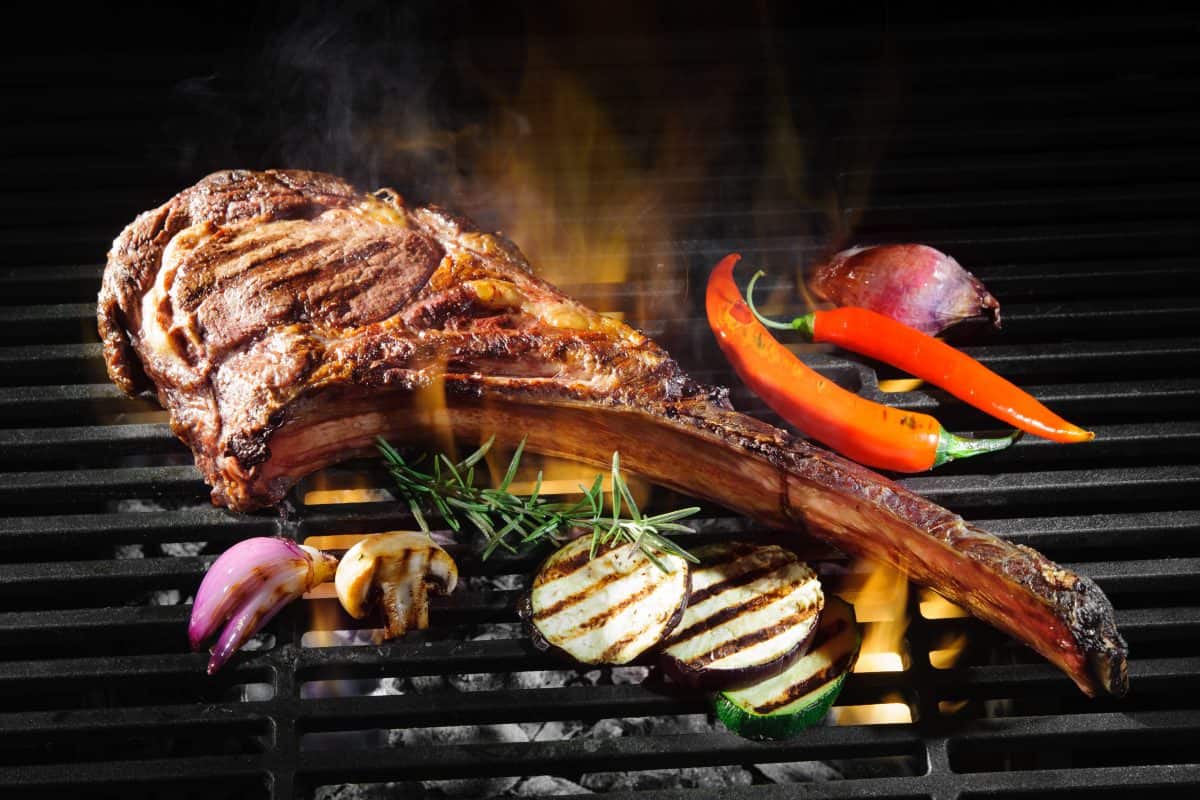
Steaks aren’t one-size-fits-all; there are various cuts, and they all have to be handled differently. To help you out, we’re going to split this section into specific cuts where we’ll tell you how thick it should be cut and how it should be cooked.
Make sure you bookmark or print this section out to have it at hand the next time you’re cooking steak.
Chuck
Also known as: Long broil, English steak, Arm Swiss steak.
This is a budget cut that’s very flavorful but tough and lean, so make sure to marinate and tenderize it.
With its thickness generally ranging from 2 inches and up, we recommend that you start by searing it on both sides for 5 minutes each, then cook over indirect heat until finished (about 5 to 8 minutes).
Go for a medium-rare finish at an internal temp of 125 degrees Fahrenheit or medium doneness at a temperature of 135 degrees Fahrenheit.
Be careful not to cook it for much longer than 8 minutes maximum — this cut will toughen up with prolonged cooking.
Rib
Also known as: ribeye, Delmonico
The rib is a tender and delicious cut of meat. When shopping, look for good marbling; this will give you a deeper flavor and even tender meat. With a thickness of around 1 ¼-inch, the rib should be cooked over direct heat.
4 to 5 minutes on each side is sufficient — check the internal temperature and make sure it reaches 125 degrees Fahrenheit, making it medium-rare doneness.
If it hasn’t quite reached that temp within 5 minutes, turn the grill off and close the lid. Leave it covered until the temp has risen. This will prevent the meat from overcooking and drying out.
Short Loin
Also known as: T-bone, porterhouse, filet mignon, Chateaubriand
When most people think about steak, this is the cut that comes to mind. It’s one of the most expensive cuts but also one of the most delicious. At 1 ½-inch thick, short loin should be grilled over high heat for a short time, depending on the doneness.
4 minutes on each side should cook it to an internal temperature of 125 degrees Fahrenheit (medium-rare), 135 degrees Fahrenheit for medium, and 140 degrees Fahrenheit for well-done.
When cooking, rotate it once halfway through for top-notch grill marks.
Sirloin
Also known as: Santa Maria, flap, strip loin, pin-bone, tri-tip
This is a slightly leaner cut than others; however, it tastes incredible when cooked right.
At 1 ½-inch thickness, it should be cooked over high direct heat for 4 minutes per side for medium-rare (125 degrees Fahrenheit). Give it a few extra minutes for medium (135 degrees Fahrenheit), or slightly longer for well-done (140 degrees Fahrenheit).
Be sure not to overcook this cut as it will become dry and tough.
Round
Also known as: sandwich, minute, round tip
This is another lean and budget-friendly cut full of flavor. Make sure to marinate it before tenderizing.
At a mere 1-inch thickness, this cut only needs a very brief cook over intense heat — try the afterburner method if you have a chimney starter!
Give it a quick 3 minutes on each side for medium-rare doneness (125 degrees Fahrenheit). For added flavor, add a small amount of butter on top of the meat before finishing.
Plate and Flank
Also known as: skirt, hanger, flank, jiffy
This is a flavorful cut sourced from the lean primal cut. Give it a long marinate before grilling it hot and fast.
Being one of the thinnest cuts at ¾ of an inch, this cut is ideally cooked using the afterburner method. Give it 3 minutes per side for a medium-rare finish at an internal temperature of 125 degrees Fahrenheit.
Cut it thinly across the grain to help break down any tough fibers.
Check Doneness with a Meat Thermometer
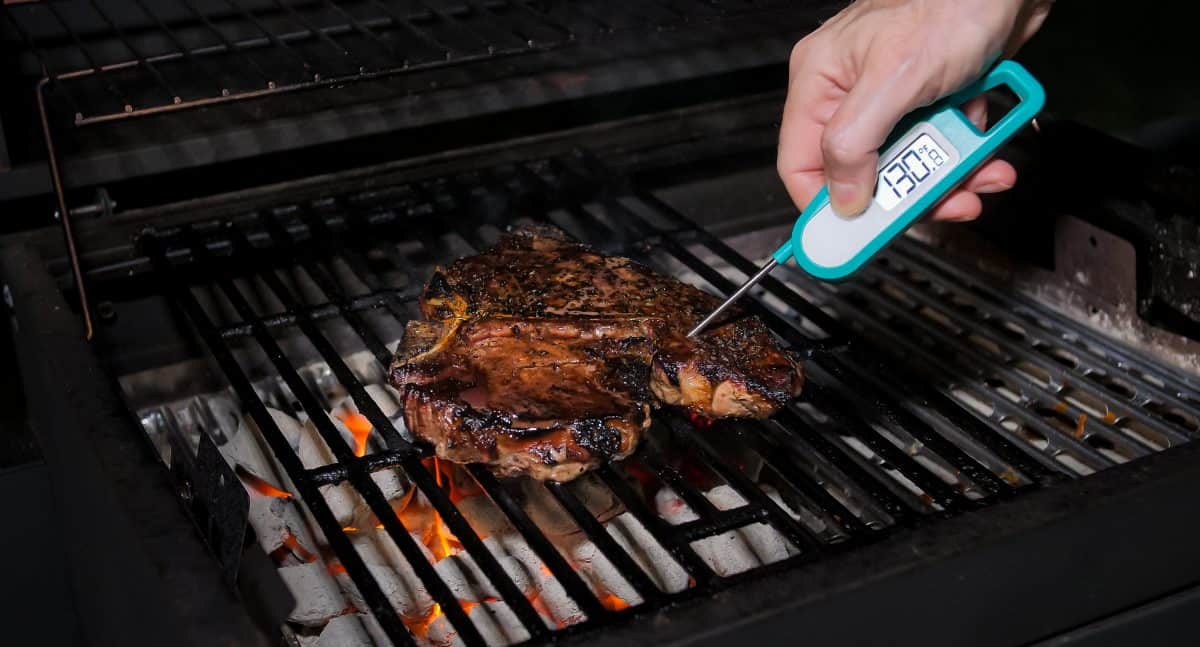
Using a meat thermometer is the most reliable (and only) way to know if the meat is cooked to a safe internal temperature.
Sure, when cooking ultra-thin steaks, it doesn’t matter as much since the meat cooks within a few minutes. However, when grilling thicker cuts, it’s crucial to check the internal temp before serving.
There are other methods grillers use to check on the meat’s doneness, such as cutting into it, but this should be minimized. Every time you cut into the meat, you’re letting the juices escape — and we want those juices to remain inside the meat.
If you like to touch, smell, look or pray that it’s done, do what you feel like — but make sure you double-check with a thermometer!
How and When to Use Salt & Pepper
Salt and pepper can do wonders to the flavor of a steak, but they have to be used correctly. Here’s how:
Salt
Always go for coarse or kosher salt when seasoning a steak. Larger crystals will help to create that nice crunch on the outside as the meat cooks. Fine salt will quickly absorb into the meat and can end up over-salting it.
Don’t be shy as you’re salting your steak. Consider the thickness of the meat — a thicker steak will need a little extra salt to help it penetrate the meat.
When should you salt the steak? That’s a question we often get. Now, you have two options: right before slapping the meat onto the grill or up to two hours before grilling to help it tenderize.
As the steak is sitting with a nice salt layer, the salt will slowly draw moisture from the meat. The moisture will dissolve the salt and create a brine reabsorbed by the meat, thereby helping it tenderize and give it a deeper seasoning.
Pepper
Pepper adds a deep flavor to the meat as it’s grilled and starts to form a bark. However, if you’re going to grill over intense heat (such as the afterburner method), hold off on the pepper until after it’s done cooking.
Black pepper will carbonize at high temperatures (500 degrees Fahrenheit and above), giving it a bitter taste that is likely to ruin your steak.
Conclusion
Grilling a steak isn’t as straightforward as it might seem. Sure, you can easily slap it unto the grill and give it a few minutes on each side and call it a day. But if you want amazing, professional results, you need to use the right technique, temperature, and time for the specific cut you’re cooking.
In saying that, there’s also a lot of practice and finessing when learning how to grill the perfect steak. So go ahead and try out a few of the techniques above to see what works best for you.
Remember to always check the meat’s internal temperature before serving to ensure it has reached a safe temp of at least 125 degrees Fahrenheit!
Let us know which steak cut is your favorite in the comments below!

