If you love extra thick cuts of meat, stick around. Here, you’ll learn the reverse sear, a vital technique for cooking to your desired doneness and achieving a savory and sensational crust without overcooking.
Almost everyone who’s cooked a steak or chop knows about searing the outside of the meat for a few minutes and finishing over low heat. If you’ve ever tried this on a very thick cut or a roast or poultry, you know the results aren’t always what you’re after.
The reverse sear turns the process around, and the results are… well, read on to find out! You’re about to find out what happens when you cook meat bass-ackwards, and why so many top restaurant chefs swear by this method.
“You Must Unlearn What You Have Learned”
Honestly, there is a Yoda quote for every occasion. The wise Jedi master was probably great around the grill, too.
Mastering the sear is an essential task for grillers who love steak. But, it doesn’t apply to all cuts of meat. Now is the time to get out of the searing mindset and broaden your horizons. You don’t always have to (or want to) sear the outside of the meat first.
That technique works great on thinner steaks and even pork chops. But, applied to a very thick steak, roast, or bird, you’ll burn the outside to a crisp (and not a good crisp) before the core of the meat cooks through.
By reversing the process, we can cook our meat to perfection in a controlled, lower-heat environment. When we’re satisfied (and our probe or instant-read thermometer says we’re ready), we move the meat to the heat for the finishing touch – beautiful grill marks, a sizzle you can hear, and incredible flavor.
Should I Try Reverse Searing? Yes! And Here Are 4 Reasons Why
Here comes the hard sell on why you must learn the reverse sear technique.
It’s New Cook-Friendly
A very large cut of meat may seem overwhelming. The truth is, it’s not easy to cook the big stuff if you don’t know what you’re doing. Many newbies end up dangerously undercooking their meat, or cook it so long it becomes inedible.
The reverse sear is easy to do, and it takes the intimidation factor out of grilling large cuts. Impress your guests and yourself with showpiece cuts cooked to perfection.
A step-by-step guide to reverse searing is just a bit further down, so stay with me!
Brown Your Meat With Little to No Risk of Burning
As alluded to earlier, if you cook the middle the way you want it first, it only takes a minute or two per high heat to finish the outside. With a sear first, you brown the outside before the inside is done. That means it’s all too easy to pass peak sear while the inside cooks, leaving you with a tough, burnt, and bitter crust.
It’s even worse if you’re grilling meat that must be served fully cooked, like chicken or pork, because the time required is much longer than, say, a medium rare steak.
And, if you or someone you know is one of those strange people who like well done steak, it’s virtually impossible to do with a sear first. By the time you get the middle to 170F (I’m shuddering even thinking about it, but I’m trying not to judge), the outside of the steak might look more like charcoal than meat.
A Word On Browning
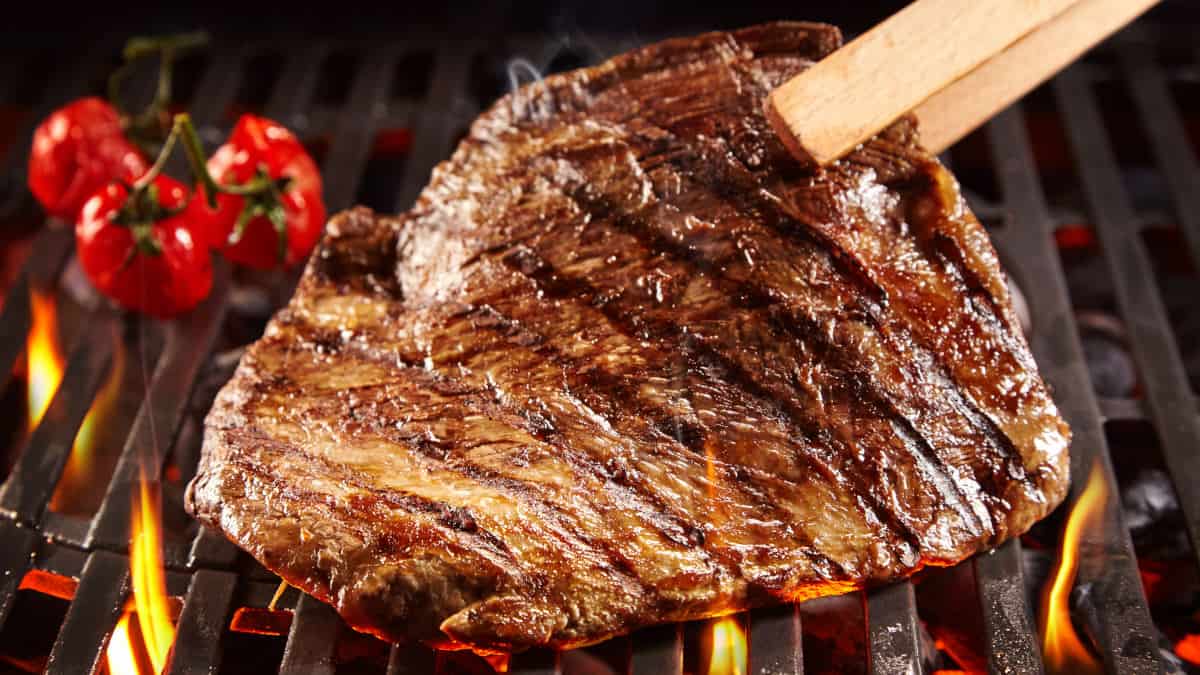
Searing meat (or many other foods) causes something called the Maillard effect. That’s the fancy laboratory way to say caramelization. It’s what happens when sugars and proteins in food hit 300F or higher. This gift of physics is what delivers the color, texture, and flavor of seared meat we all love.
Your Meat Will Cook Evenly All the Way Through
The best-cooked meat is done to the same level throughout almost the entire cut. That’s very hard to do with a sear-first approach if the meat is thick.
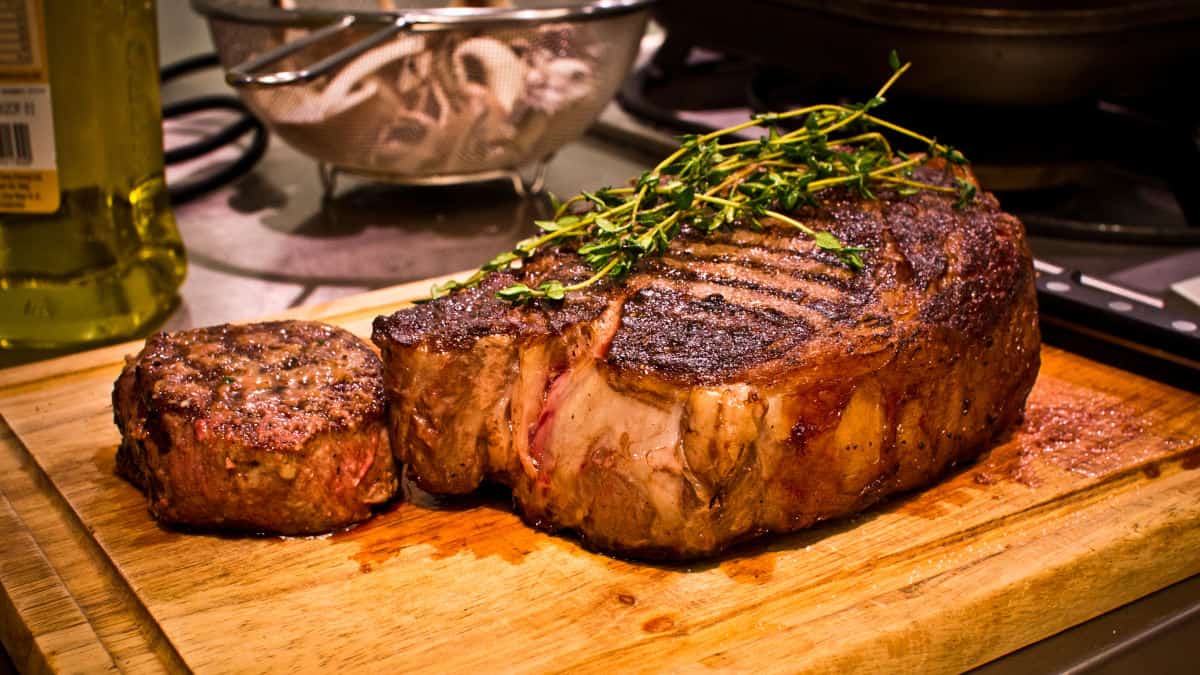
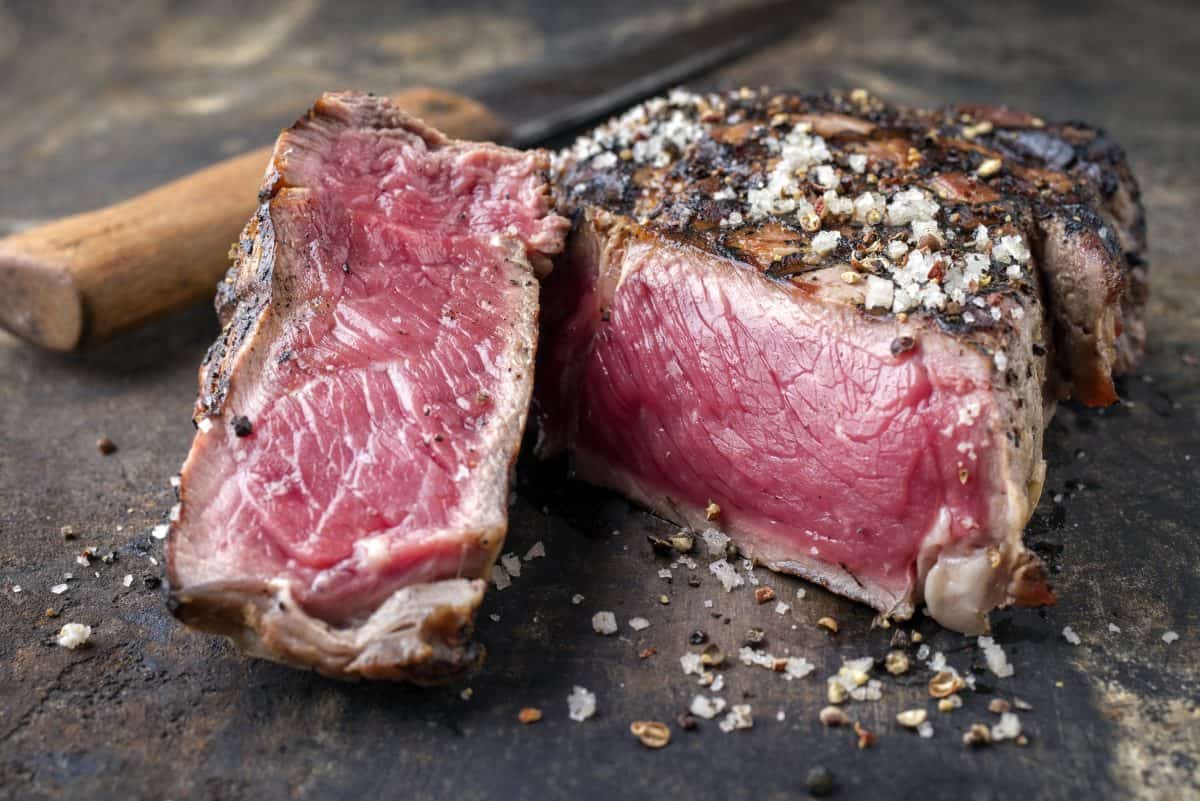
Let’s consider a thick steak, one about an inch-and-a-half thick. Yes, you can absolutely sear it on a screaming-hot grill and then finish it over lower heat to medium-rare. But, when you cut it in half, you’ll discover a bullseye appearance – brown at the edges and fading to a red center. That means only the middle and the crust are cooked the way you wanted.
By cooking the meat more slowly over lower heat, more of the interior will be red, or pink, or however you like it. With that done, you can quickly sear the crust with minimal “damage” to the interior. Now your cross-section shows more of the tender, flavorful zones, just a ring of brown, and your gorgeous crust.
Go to a really good steakhouse and order a thick-cut steak. Cutting it in half should reveal this exact scenario. That’s because the best places utilize the reverse sear for maximum flavor.
By the way, this absolutely applies to other beef cuts, like prime rib and other roasts, as well as whole poultry.
Enjoy Tender, Juicy, Delicious Meat Every Time
We now know the reverse sear gives you evenly cooked and beautifully browned meat with ease. It also makes it juicier and more pleasant to eat.
Applying intense heat to meat will cause the moisture locked inside to evaporate, leaving you with dehydrated disappointment for your dinner. Low temperatures, however, slow down the evaporation process. This enables you to cook it right through without driving out all the juices.
Also, cooking meat more slowly helps to tenderize it. Why? Glad you asked.
It’s all about the enzymes. All meat has them, and there’s one in particular with the catchy name, “cathepsins.” Sounds yummy, doesn’t it?
The job of cathepsin is to break down proteins. Trashing those proteins is what makes meat more tender, so we want those cathepsins to go to town on them! Unfortunately, once the temperature inside the meat exceeds about 122F, the little guys die off.
So, the longer we can hold the internal temperature under that point, the longer the cathepsins have to tenderize the meat from the inside. Cooking for too long over high heat brings the internal temperature up more quickly, and reduces the time before the enzymes are neutralized.
How to Reverse Sear Steak on the Grill
As promised, here is your step-by-step guide to reverse searing.
- Have an accurate digital meat thermometer on hand for reading the internal temperature. A leave-in probe is even better, as every poke releases more of the tasty juices. Try to limit your proving to just a couple of jabs.
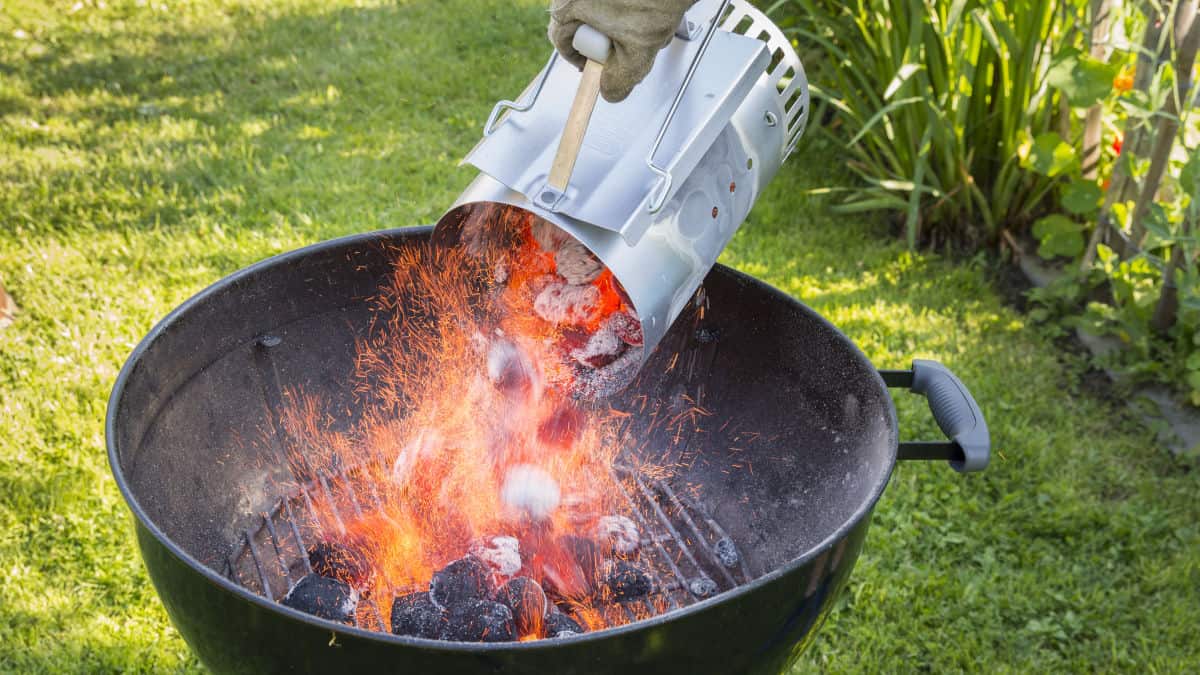
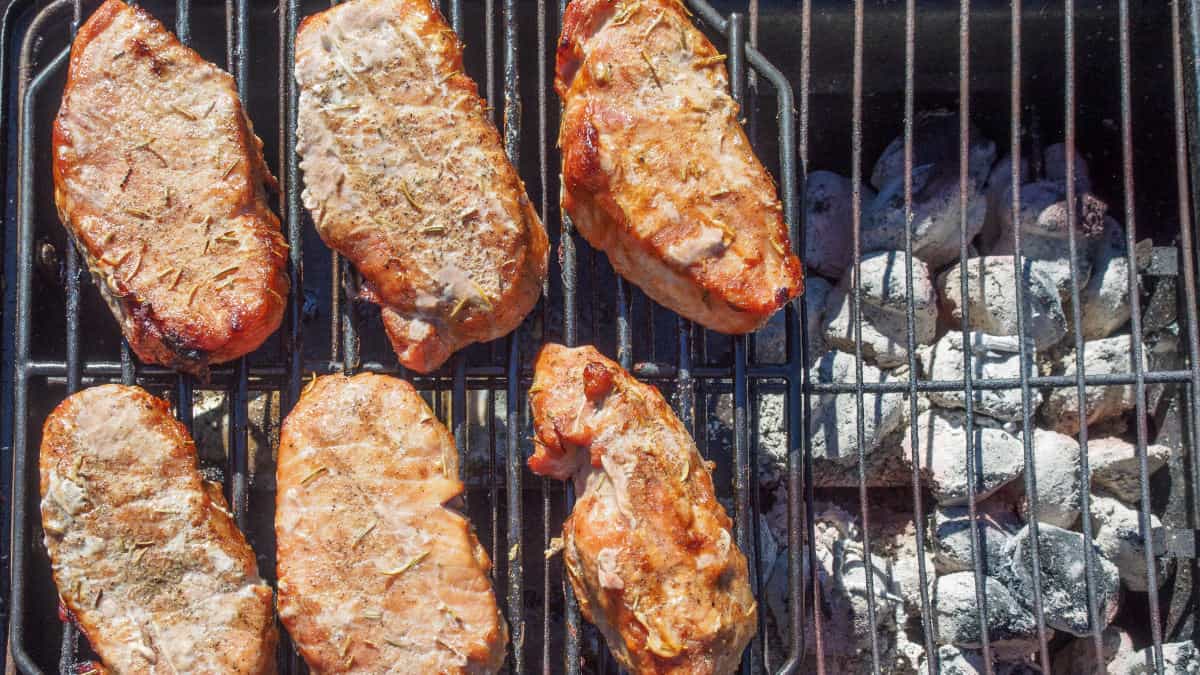
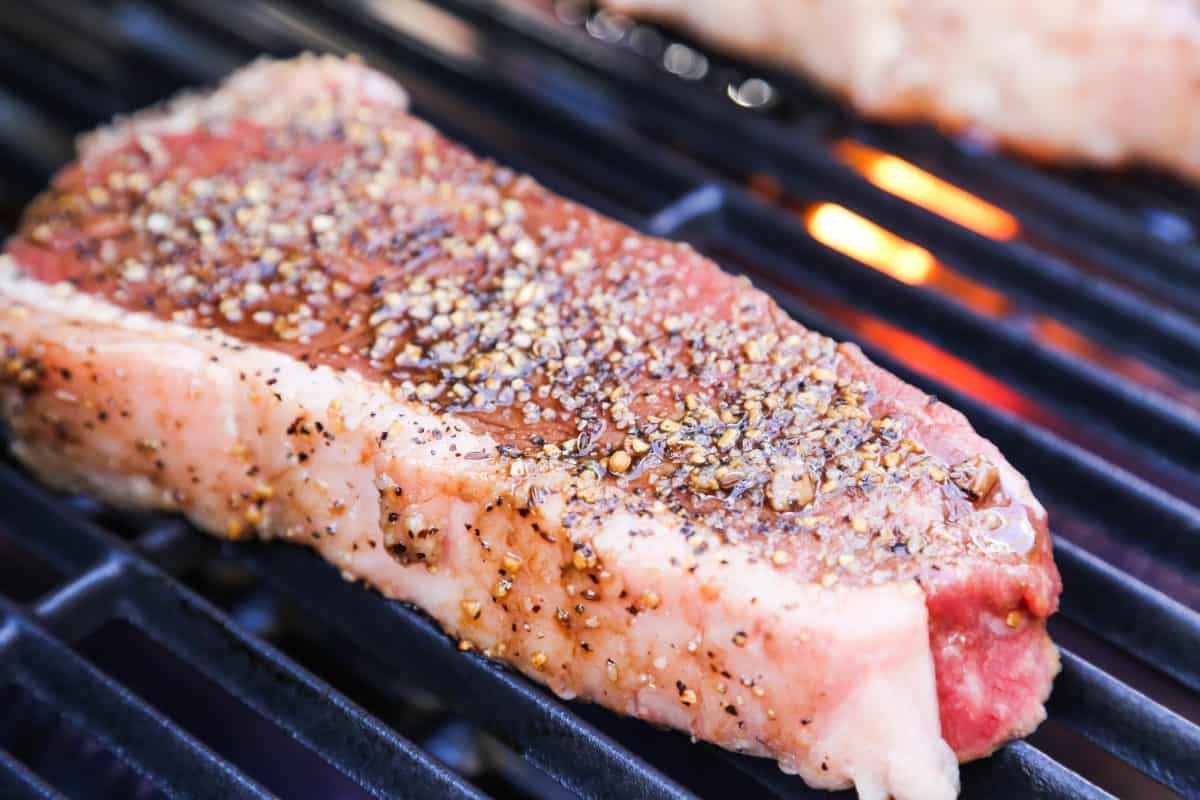
- Create a two-zone cooking set-up. That means high heat on one side, and low-heat on the other. You do this (in a nutshell) by piling all your charcoal on one side of the grill. For a gas grill, only turn on one or two burners, depending on how many burners you have total. Work towards an ambient temperature of 225°F inside the grill.
- Place your meat either in a pan or directly on the grate on the side of the grill furthest from the heat source. Close the lid and let the meat cook in the indirect heat.
- Keep tabs on the temperature of the grill to be sure you’re staying in the low and slow range. When the meat gets to the right internal temperature (consult the guide below), lift the lid and move the meat to the high-heat zone.
- On average, you’ll sear for about three minutes per side for a rare or medium rare steak, and up to five minutes for medium-well or higher.
Steak Doneness Guide
It’s important to follow this guide to achieve your desired doneness. If you wait too long, you’ll shoot past your target during the searing process. For each level of doneness, I’ve provided the temperature range you want to hit before moving to sear. Remove from the grill completely once you’ve reached the second temperature range.
- Rare – cook to 115 to 125°F; sear to 120 to 130°F
- Medium-Rare – cook to 125 to 130°F; sear to 130 to 135°F
- Medium – cook to 130 to 140°F; sear to 135 to 145°F
- Medium-Well – cook to 140 to 150°F; sear to 145 to 155°F
- Well Done – cook to 150°F+; sear to 155°F+
Try to aim for the lower end of the range to allow for carryover cooking. That’s the process whereby meat continues to cook on the inside because of residual heat, even after it’s off the grill.
Notes on Poultry
For a whole turkey or chicken, employ the two-zone style right the way through. When the internal temperature (measured in the thigh) reaches the 115-120F range, turn up the heat. You want to get the temperature under the lid up to about 375F.
Leave the bird until your probe reads 165F. The extra heat should crisp up the skin nicely, but you can also baste it occasionally to help with browning and flavor.
Can I Reverse Sear Any Cut of Meat? What About Other Foods?
As with any low and slow cooking technique, the reverse sear is only meant for cuts at least 1.5” in thickness. Thinner cuts will dry out and become tough to chew with prolonged exposure to low-grade heat.
You also don’t want to use this method on tough cuts like flank steak or brisket. That extra blast of heat will undo all the protein-bashing, juice-saving work accomplished over low-heat.
The reverse sear is ideal for thick steaks and chops, whole poultry, roasts, extra-thick burgers, and even baked potatoes. I also use it on sausages with thin, natural casings to avoid bursting brats.
Final Thoughts
Now that you know about the value of the reverse sear, get out and try it! You’ll never have to fear those huge, delicious-looking cuts at the butcher ever again. Don’t you love it when your barbecuing world gets bigger?
Be sure to browse the site for more how-tos for grilling and smoking, and ways to apply your new knowledge. And don’t forget to tell a friend! Sharing is caring, especially when it comes to delicious food.