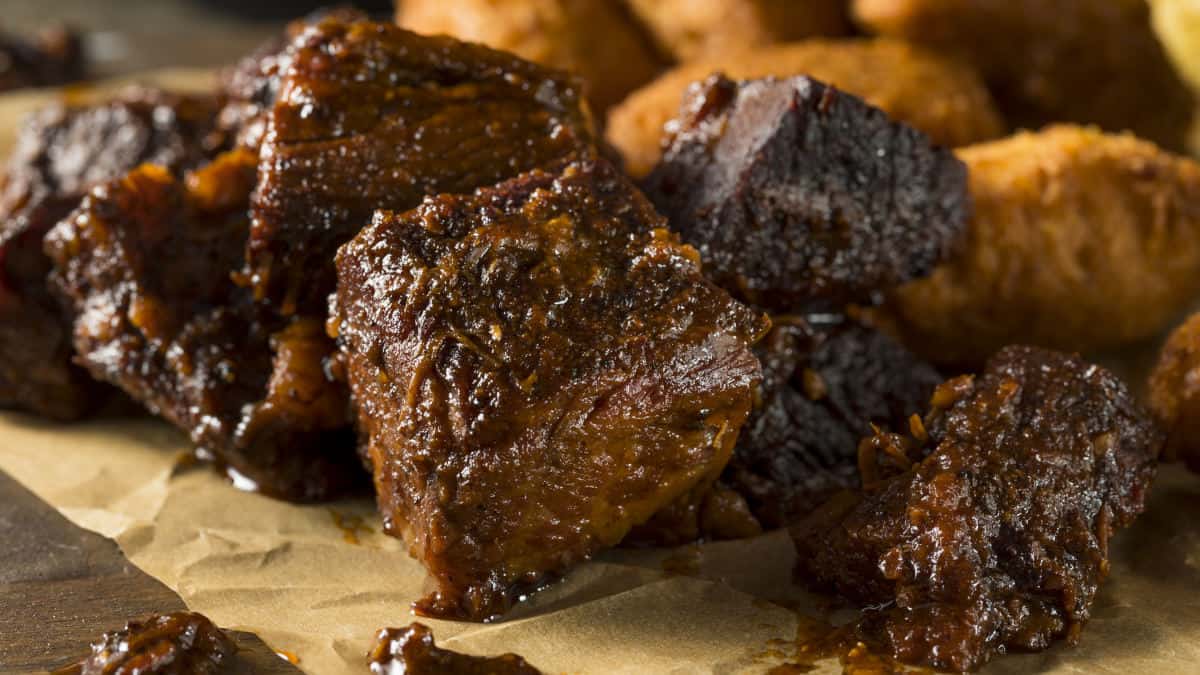
Brisket is a staple of barbecue cuisine and in Texas, it’s the meat by which all pit masters are judged. Done right, it’s a perfect piece of meat candy.
However, this cut of meat can be one of the most difficult to cook given its size and uneven thickness. To perfect it, you will have to cook many of them and really perfect your fire management skills.
Never fear though, in the article below, we teach you all you need to know on how to smoke a brisket.
What Do We Need to Smoke a Brisket?
To create a perfectly smoked brisket, you will need the following items.
- Brisket cut of beef
- Seasoning (We’ll elaborate on this in a minute)
- Smoker
- Meat Injector (optional)
- Wood or Wood Chips (Charcoal can also be used)
- Aluminum Foil (Optional)
- Meat Thermometer
- Meat Knife
- Cutting Board
- Ice Chest/Cooler larger enough to hold the brisket plus some towels
- Towels or blankets you don’t care too much about
What the Heck is a Brisket and How Do I Choose One?
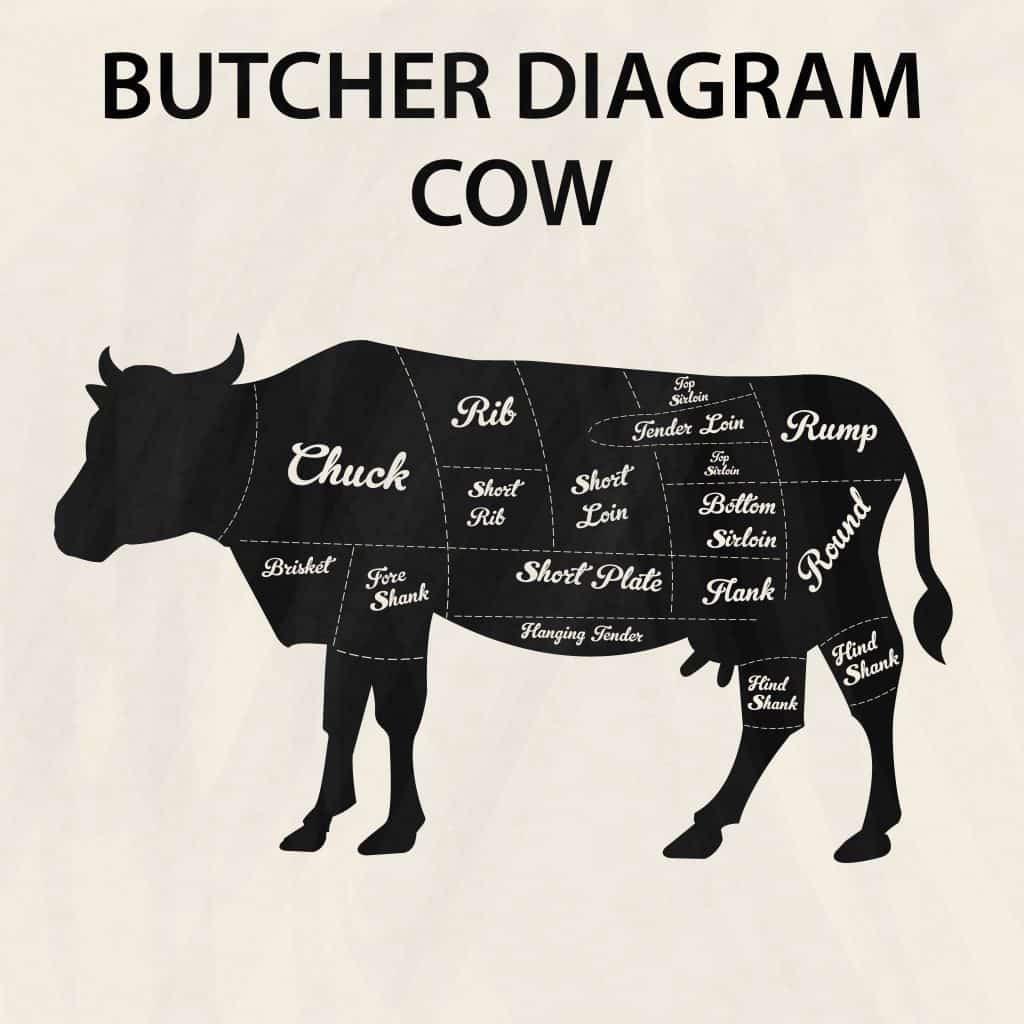
Beef Brisket is cut from the pectoral muscle region of the cow. This area features tightly woven connective tissue, which explains why it can be so difficult to cook it to a tender consistency, rather than a leathery one. This diagram shows where we get brisket from.
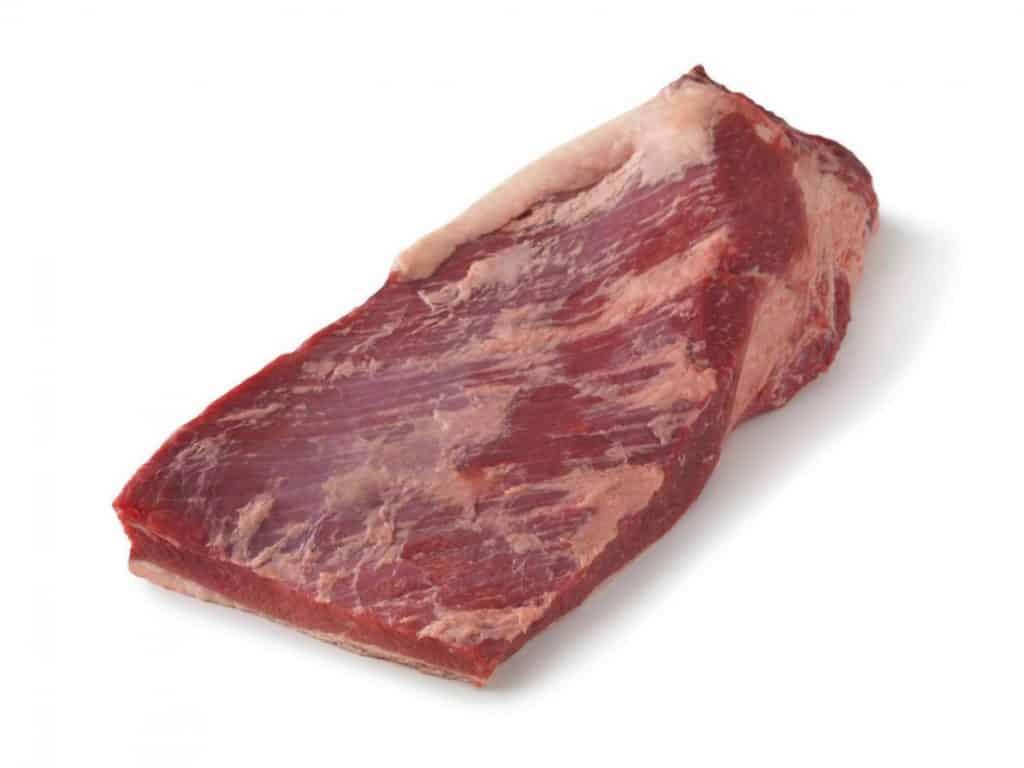
A brisket is actually comprised of 2 muscles known as the Flat and the Point. The Flat is the leaner, thinner part of the brisket while the Point is the fattier and thicker part of the brisket.
USDA beef comes in 3 grades. From best to worst, these are Prime, Choice and Select. You want to select a brisket that is USDA Choice ranking or higher.
The reason for this is that the USDA Choice cut will have more marbling than a USDA Select cut. That’s not to say that you cannot choose a Select cut, it just won’t be quite as tender or tasty. I’ve found that a good place to buy briskets is Costco.
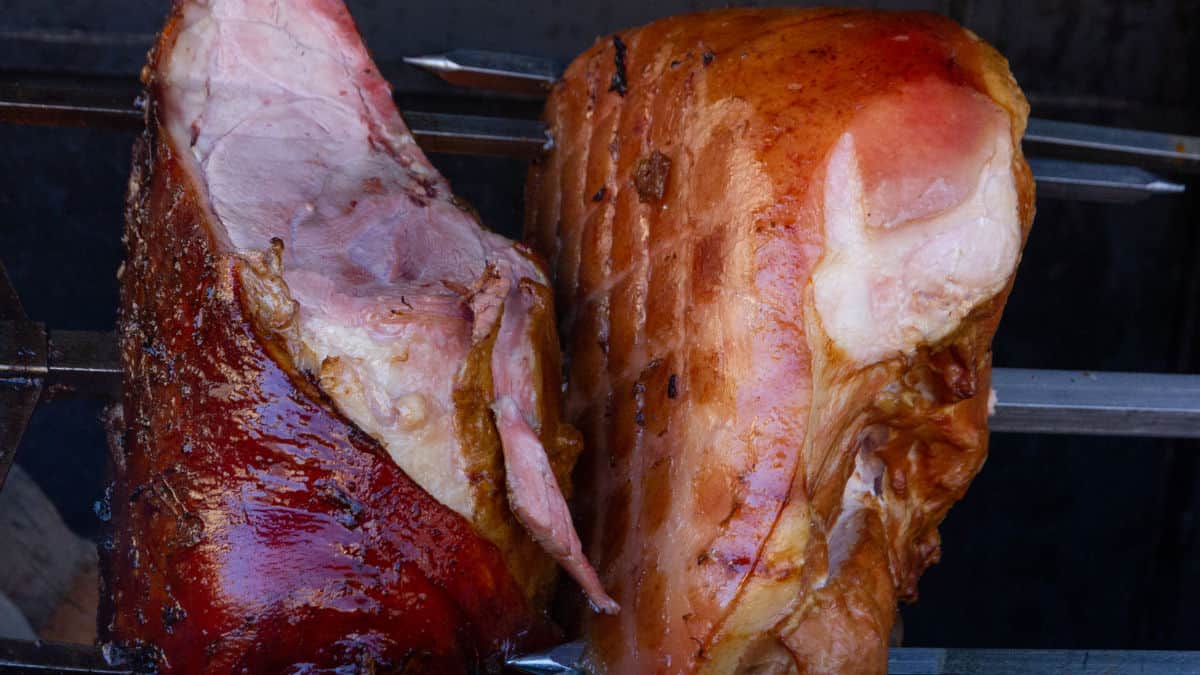
This is what a typical whole, brisket will look like. The Point is at the top and you can see how much thicker and more marbled it is than the Flat at the bottom end of the brisket. Briskets usually weigh somewhere between 8 and 20 pounds, on average.
Things to keep in mind when you’re selecting a brisket are:
- The size of your smoker (make sure it will actually fit)
- The number of people you plan on serving (typically you’ll need 0.5 pounds per person)
- The cook time (1 to 1.5 hours per pound).
- The thickness of the brisket. Briskets are naturally uneven in thickness as the Point is always thicker than the Flat. That being said, try to get one as even as possible; a really thin Flat will cook faster and is more likely to burn.
So if you’re planning on serving 20 people, you’ll need at least a 10-pound brisket and plan for at least a 10-hour cook.
Prepping and Planning
Perhaps one of the most difficult aspects of smoking a brisket is knowing how long the whole process will take. For example, if you are planning to serve it to your friends at 5:00 PM, what time do you need to start prepping it?
The answer isn’t so simple because there are so many things that factor into the cook. How big is the brisket? Are you going to inject it or marinade it? What temperature are you cooking it at? Are you keeping the temperature consistent during the cook or is it all over the place? As you can see, there can be a lot of factors in the process which is why I try to keep it as simple as possible.
The first step is trimming the brisket. This removes all unnecessary fat while leaving you with enough to keep the meat nice and juicy. You’ll also remove any really thin pieces of meat around the edges which are likely to just burn during the cook.
Trimming can be a bit of an art and like anything else in barbecue, the more times you do it, the faster and better you get at it. For someone brand new to it, allow 20 to 30 minutes for trimming.
If you’re planning on injecting your brisket, you’ll want to let it sit in the refrigerator for at least 6 hours or overnight. Therefore, if I’m injecting, I’ll trim and inject the brisket the night before and let it sit in the fridge overnight.
In general, you want to give the brisket time to warm up to room temperature before putting it on the grill. This will make the cook much more consistent than just throwing it onto the smoker cold. If I’ve trimmed and injected it the night before, I’ll pull the brisket out of the refrigerator and let it sit on the counter while I go get the smoker started.
If I’m not injecting, I’ll wake up the morning of the cook, take the brisket out of the fridge and immediately trim it as it is much easier to do when the brisket is cold. After that, I’ll apply the rub which only takes about 5 minutes and then get the fire going in the smoker.
Keep in mind that beef is the only meat you can safely leave out at room temperature. You would never want to do this with pork or poultry. I never let a brisket sit for more than an hour at room temperature before I put it in the smoker.
So for the overall process of cooking the brisket, I allow 1 hour to trim the brisket, apply the rub and get the smoker up to temperature.
I then assume 1.25 hours per pound of brisket for the cook at 250 degrees Fahrenheit. So for a 10-pound brisket, I’m allowing 12.5 hours for it to cook. I then allow at least an hour for the brisket to rest in a cooler after it’s come off the smoker.
So all in, a 10-pound brisket should take about 14.5 hours from start to finish. If it’s your first time, allow more time for things like trimming and getting your smoker dialed-in at the right temperature as these can take longer than expected. It’s better to finish early than late as you can always let the brisket rest for a longer period of time if necessary.
Trimming
Trimming plays a vital part in how the brisket turns out. The goal of trimming is to have enough fat to make the meat nice and juicy but not too much that it doesn’t completely render (i.e. melt). You can either trim the brisket yourself or see if your local butcher sells pre-trimmed briskets or is willing to trim it for you.
If you need to trim the brisket, you will accomplish this by trimming the thick areas of fat to a thickness of about 1/4th of an inch. You will need a very sharp butcher or boning knife and your cutting board to do this.
BBQwithFranklin’s video below shows you the proper way to do this. Keep in mind it’s easier to trim when the brisket it has just come out of the refrigerator and is cold.
Take your time as trimming can be a bit confusing if you’ve never done it before and when in doubt, err on the side of having more fat than not enough. Too little fat will result in a burnt or tougher brisket.
Injecting and Marinading
Injections and marinades while not necessary, do provide some benefits if you want to take the time to do them. They add flavor to the meat, they break down and tenderize the meat and they add additional moisture to the meat. Like rubs, they can be as simple as just using a beef broth or complex with many different ingredients.
If you’re injecting, you’ll need a meat injector and an aluminum pan where you can place the brisket and inject it.
After placing the brisket in the pan fat side up, inject the meat every inch or so. Make sure you go easy on the injector’s plunger as you can inject in one place and have juice come flying out of another hole if you put too much pressure on it.
Once you’ve injected the meat, pour any remaining juice over the meat and cover the pan and place in the refrigerator for at least 6 hours.
Applying the Rub
Rubs serve a few purposes on a brisket. They add flavor, they help keep moisture in the meat and they help form the “bark” along the edges of the brisket.
There are a ridiculous amount of ways to season a brisket and pretty much any BBQ enthusiast will tell you their way is the best way.
In truth, it comes down to your taste preferences. Some people just use salt and pepper, others might have a dozen different seasonings in their rub.
You can make your rub or purchase one from the store.
Prep Your Smoker
You’ll want your smoker at temperature and stable when you throw your brisket on there. There are a wide variety of smokers that use different fuels and heating methods, so make sure you follow the manufacturer’s directions for your smoker.
If your smoker uses wood, you’ll want to be aware of what kind you’re using. While there are many types of wood, two stand out as the best for the long cook and flavor a brisket requires.
The availability of these woods depends primarily on where you live. Oak is the most popular in Texas given its abundance there. It has a mild flavor that won’t overpower the meat and burns evenly, making it easier for you to control the temperature in your smoker.
Hickory is the other good choice given that it burns for a long time and also produces good flavor, one that is slightly more powerful flavor than oak.
While you can use other types of wood such as fruit woods, they tend to not have a meaningful impact on the flavor of the brisket and they also burn faster when compared to oak and hickory. Woods like mesquite aren’t good for a long cook because they burn hot and fast.
Something else you’ll want in the smoker is a water pan. If yours didn’t come with one, you can simply use an oven-safe bowl and place it next to the brisket on the grill. The water pan will help keep the inside of the smoker nice and humid. This helps prevent the brisket from drying out and slows down the rate of cooking so that both the exterior and interior of the meat are cooking at the same rate.
Once your smoker is lit and up to temperature, it’s time to put the brisket on.
You’ll want to figure out how the heat moves through the smoker and which area is the warmest. You’ll want to have the Point end of the brisket (the thicker part of the brisket) facing the warmest part of the smoker as it will take the longest amount of time to cook and has more fat that will need to be rendered.
Whether or not you place the brisket in fat side up or fat side down is up to you. There are arguments to be made for both ways. I personally prefer fat side up as I believe this results in the brisket retaining more fat and thus being more moist and juicy.
The Main Event: Smoking the Brisket
Once the brisket is in the smoker, your primary jobs are to keep an eye on the fire to make sure the temperature stays steady at 250 degrees and to occasionally check to make sure the brisket isn’t drying out.
If you’re using wood, this is where it’s critical to know how much wood you’ll need in the firebox and how often you’ll need to add more. Every smoker is different and you only learn this through experience.
While it may be tempting to frequently open up the smoker to check out the meat, don’t. Every time you open the smoker, you lose heat and thus it takes a few minutes for the smoker to come back up to temperature.
I use a digital thermometer with a meat probe that I keep in the Point of the brisket. That way I always know the temperature of the meat without having to open smoker.
Once every half hour to 45 minutes, I’ll take a quick peek at the meat to see how it looks. If it’s starting to look dry, I may spritz it with water and refill the water bowl if needed.
As you’re monitoring the fire and occasionally checking the brisket, you’ll notice the temperature of the meat rising at a consistent pace. You might think to yourself “Hey, this is going faster than I thought, I might get done early.”
However, once the meat gets to 160-170 degrees, you’re going to run into what is known at The Stall.
The Stall
There is a long scientific explanation about The Stall but what it basically boils down to is that your meat is sweating. As the temperature of the meat increases, it begins to contract and shrink, forcing moisture to the surface.
As this moisture evaporates it absorbs heat just like the cooling effect you get when you sweat. Because of this evaporative cooling, your brisket may sit in the 160-170 temperature range for a few hours.
It’s important to realize that The Stall is coming and not to panic when it happens. This is why we’ve budgeted the amount of time that we have for the cook.
Two things you should never do when encountering The Stall are cranking up the temperature of the smoker or pulling the brisket off and serving it at 160-170 degrees.
If you panic and crank up the heat in the smoker, you will end The Stall faster but you’ll also risk drying out and burning the brisket. If you pull the brisket and serve it, you’re likely to wind up with some pretty tough meat.
So what do you do? You wait it out. Keeping the humidity high in the smoker with the water pan will help prevent the stall from starting early but other than that, relax with the knowledge that eventually the meat will start to increase in temperature again.
To Wrap or Not To Wrap?
Eventually, the meat will come out of the stall and begin to increase in temperature at a normal pace again. By this point, the brisket will have absorbed as much smoke as it can and has lost a lot of its moisture. Once this has happened, you’ll want to briefly pull the brisket off the smoker, wrap it and place it back in.
You can wrap the brisket in butcher paper or aluminum foil. Wrapping will help the brisket retain moisture and cook faster. Knowing when to wrap comes down to experience and being able to tell if the brisket is drying out, getting too dark or is getting too smokey.
It is entirely possible to go through the entire process without wrapping. It all depends on the meat, the consistency of your temperature throughout the cook and whether or not your fire is burning clean or dirty.
With clean smoke and consistent heat, it’s possible that the brisket will not require wrapping. As you gain experience, you’ll be able to visually assess the meat and know whether or not it needs it. When just beginning, I’d recommend wrapping just to be on the safe side.
Is It Done?
How do you tell when the brisket is done?
If you’re an experienced pitmaster, you can tell by look and feel. For those of us not as experienced, the best way is by checking the temperature of the meat.
Using a meat thermometer, you’ll want to probe the thickest part of the Point. Once this area reaches 200 degrees, it’s time to pull the brisket off the smoker and let it rest.
Time to Take A Rest
One of the most important things to do after you pull the brisket off the smoker is to let it rest. The theory behind resting is that as the meat cools off, it relaxes which allows moisture to return. If you were to immediately slice the brisket after it came off the smoker, it would dry out very quickly.
It may take some time for the temperature to come down. Because of conductive heating, the temperature of the brisket may actually continue to rise even after you’ve pulled it off the smoker.
How long to let the brisket rest is dependent on a number of factors such as size and where you rest it. Ideally, you want the meat to come down to about 145 degrees before slicing and serving it.
Once I remove the brisket from the smoker, I keep it wrapped in its foil or butcher paper, wrap it with old towels or blankets and then place it in a cooler. I then wait for at least an hour before I check the temperature again.
Because the exact resting time is unknown, be sure to err on the side of caution when smoking a brisket for the first time. Once you’ve done a few, you’ll have a good idea on how long it will take the temperature to come down.
Slicing and Serving
Because the brisket is comprised of two different muscles, the grain of the muscles run in different directions. That means you’ll have to slice the Flat one way and then rotate the Point to slice in a different direction. While this seems a little confusing at first, Aaron Franklin shows that it’s relatively simple in “The Payoff” video above.
Once sliced, serve immediately as brisket is never as good as when it’s first sliced. Meat from the Flat will be leaner while the meat from the Point, will be more fatty and juicy.
We hope you enjoyed our article on how to smoke a brisket and feel free to leave any comments or questions below.