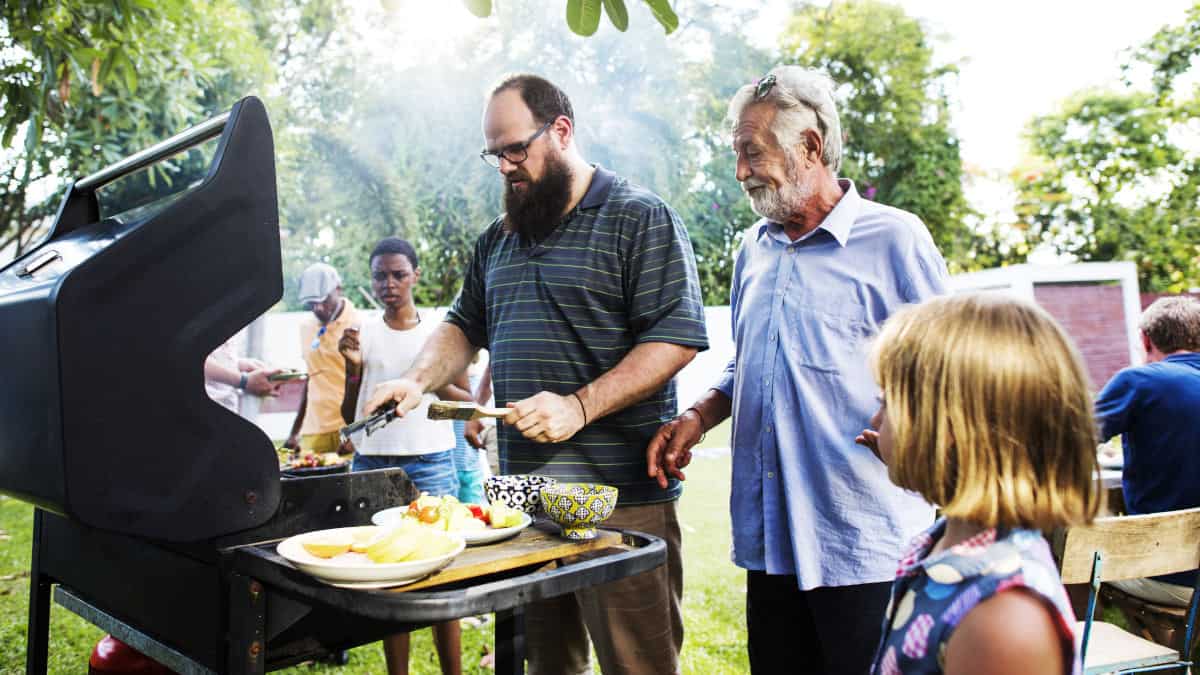
A bright sunny afternoon is ideal for hanging out with family and friends and spending some quality time. An old fashion cookout does the trick and gets you all working together.
A tricky part about a cookout is getting the charcoal grill going. In this article, I’ll teach you the best way to light a charcoal grill.
I have been to several cookouts and have seen people start the grill in unique and bizarre ways.
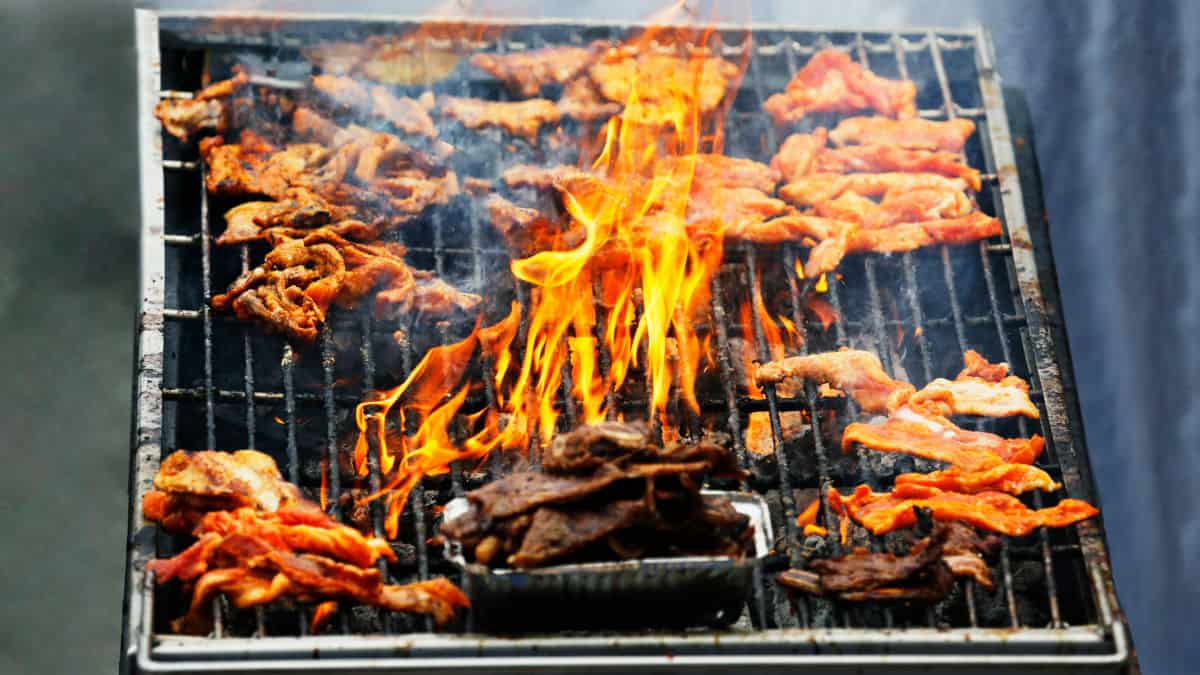
When you are setting up a cookout, you should have thought ahead on how to get the charcoal going. You should realize that how you light the grill goes a long way in determining the flavor and quality of whatever you are cooking.
The following tips will help you get the grill started and ready to use in no time.
1. Select Good Quality Charcoal
There are some good options in the market when it comes to charcoal. I find that hardwood charcoal is more reliable and provides you with that natural smoky food flavor.
You might argue that using briquettes is easier because of the lighting, but is it?
Briquettes are infused with chemicals for quick lighting without using gels. I would suggest that if you do not want that chemical or diesel flavor on your food, go for natural hardwood charcoal. Natural carbons also burn hotter giving you a better cooking fire and a smoky flavor.
Big W BBQ’s video below explains the difference between briquettes and natural lump charcoal.
2. Prepare the Grill
When it comes to airflow and temperature control inside of charcoal grills, ash is the number one enemy that you should look out for when using a grill.
Alongside dust, ash reduces combustion of charcoal by blocking out free circulation of air. A fire could die out in a bad ventilation leaving you in a compromising situation.
Remove the grill grate and clean out the vents at the bottom of your grill for a thorough cleaning. Make sure that the charcoal ash and cooking grates are both cleaned up before starting.
3. Light the Charcoal in a Chimney Starter
To avoid undesired flavors in your food, you should stay away from chemical-based lighters.
I find that using a chimney starter saves you time and gets coal going with minimal effort. Fill up the chimney with charcoal and set out a sheet or two of old newspaper for lighting.
The vent structure increases the coal-to-coal contact which is what you want for faster combustion. Different chimneys have different charcoal capacities which also varies with the size of your coals. You can also adjust the charcoal in the chimney depending on your needs.
Crumble the newspaper sheets and place them on the grill grate. Light the papers and place the chimney vertically above them on the grill grate. Ensure that there is smoke coming from the chimney as the charcoal catches fire and leave it for about 10 minutes.
You can also use a lighting cube or two for starting up the chimney. I recommend the cubes here because they are not in direct contact with the charcoal and are non-toxic. Therefore, your grilled food will not have that chemical flavor that lighting gel and briquettes leave.
Always observe precaution when starting up a fire and use a grill lighter or long matches. I have found that some chimney starters have an accompanying match holder for safe lighting.
4. Determine that the Charcoal is Burning Well
You can converse or do other things as you wait for the charcoal to light. However, you have to make sure that you maintain a good view of your grill so you can assess the burning of the charcoal. You can see the burning progress through chimney vents designed on the body of the coal burner.
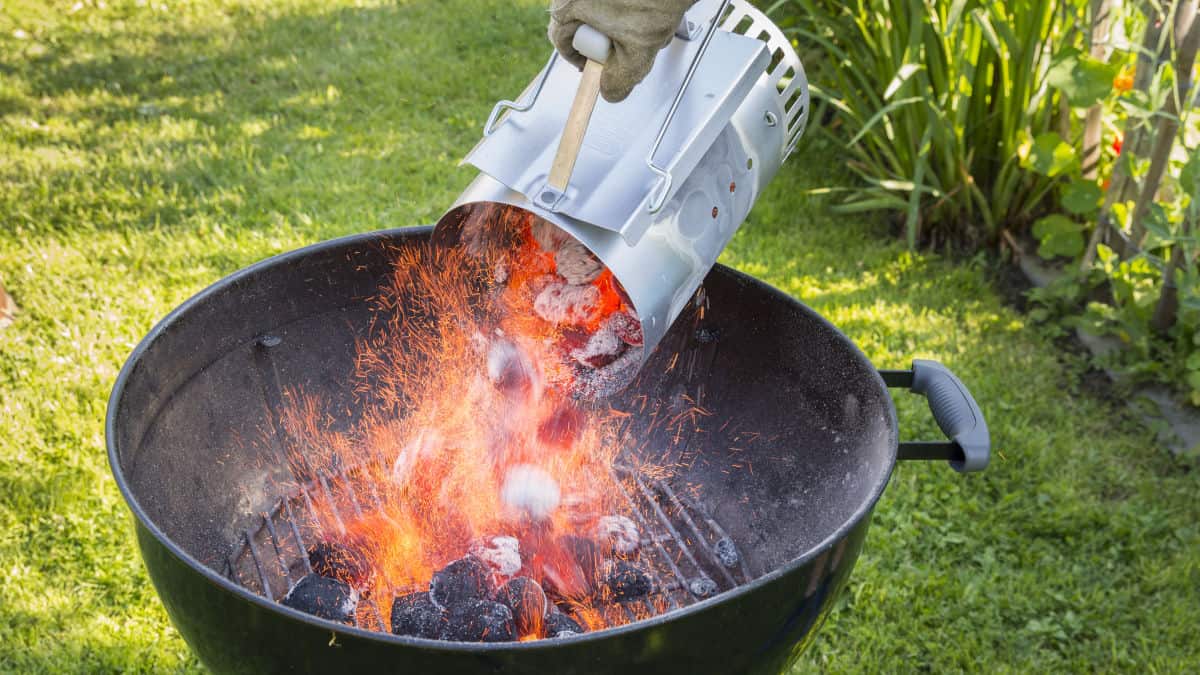
A steady flickering of flames on top of the charcoal pile in the chimney is your signal that the charcoal is ready. The glow should also be visible through the vents. Now, your charcoal is ready for transfer to the grill.
Depending on the chimney that you are using, the vents might be present or not. I find that the products like the Outdoor Gourmet have no vents along the chimney walls, so I just check the flames above.
The Kingsford® Professional Chimney Charcoal Starter and other versions like the Rapidfire® Chimney Starters have these vents making it easier to spot progress as the burning coal.
The chimney handles are fitted so that they protect your skin from accidental burns. Advanced chimney models use thermoplastic handles while other models have wood handles. However, I recommend that you also use kitchen mitts or other insulator available to you.
5. Pour out Coals from the Chimney Starter
Pour out the charcoal into a pile to ensure it continues to burn intensely and then safely put away the chimney starter. Traditional methods where you use newspapers or a lighting gel also require mounting coals upon each other.
When your coals start turning gray and are ash-covered along the edges, they are said to be burning hot and ready for grilling. You can spread them out in the coal grate and you ready to cook. From here, you can choose ideal positions to spread the coal.
Tightly packed coals produce intense heat perfect for foods like meat while sparsely spread out coals are less intensive and great for foods requiring less cooking like vegetables. Replace the cooking grate and let it heat up before cooking. You can now adjust the bowl dampers or the lid to regulate the grill to cooking temperatures.
Check out T-Roy Cooks’ video on using a charcoal chimney below.
Using a Chimney Starter for Starting your Charcoal Grill
There you have it, the best way to light a charcoal grill fast and without affecting the food flavors in your menu. You now know how to use a chimney starter to burn up coal before using them on a grill.
Take note of the safety measures that I have noted for an event-free cookout. Despite the specialized chimney handles, make sure to use additional insulators, kitchen mitts work fine. Also, remember to put the chimney out of busy pathways to avoid getting nasty burns in case you or a guest run into it.
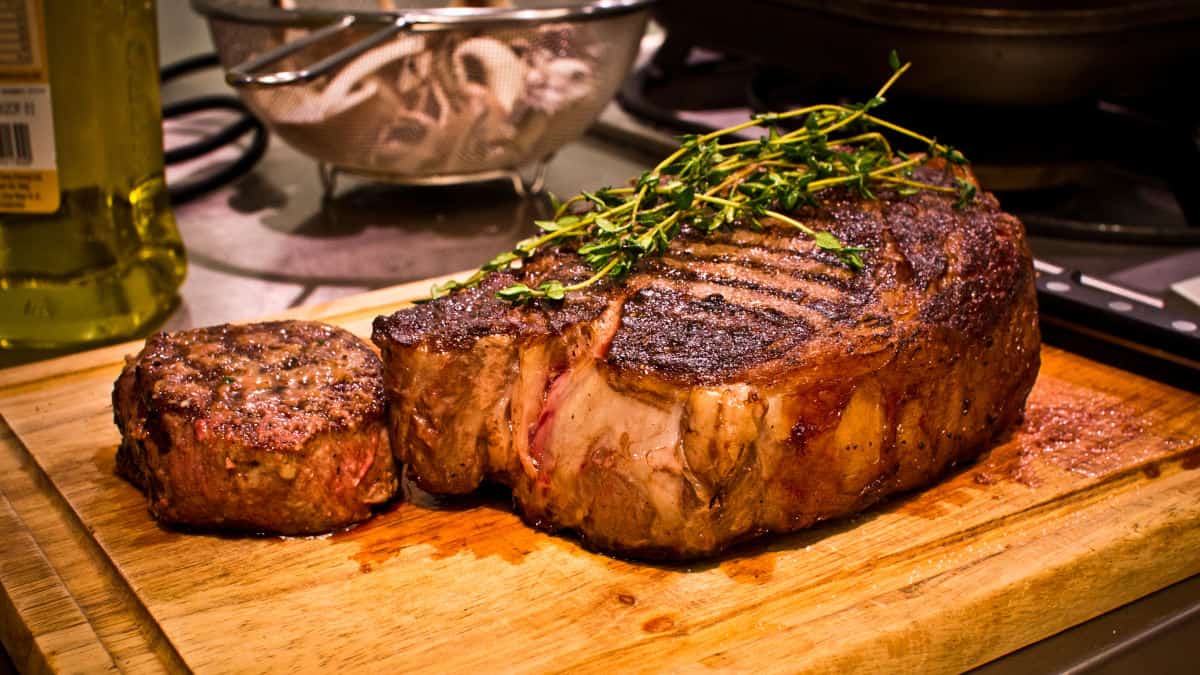
Don’t ruin that perfect steak flavor with chemicals; get yourself that chimney starter. Using used newspapers or lighter cubes is economical and also keeps you grilling flavor chemical free. Start you grill the right way and have that perfect cookout.
Leave me a comment below after you have tried this out or leave me a grilling question if you need clarifications.


