Today, we’re going to learn how to reheat ribs. The number one goal of reheating ribs is to keep them moist and of good quality as if they’re fresh off the BBQ.
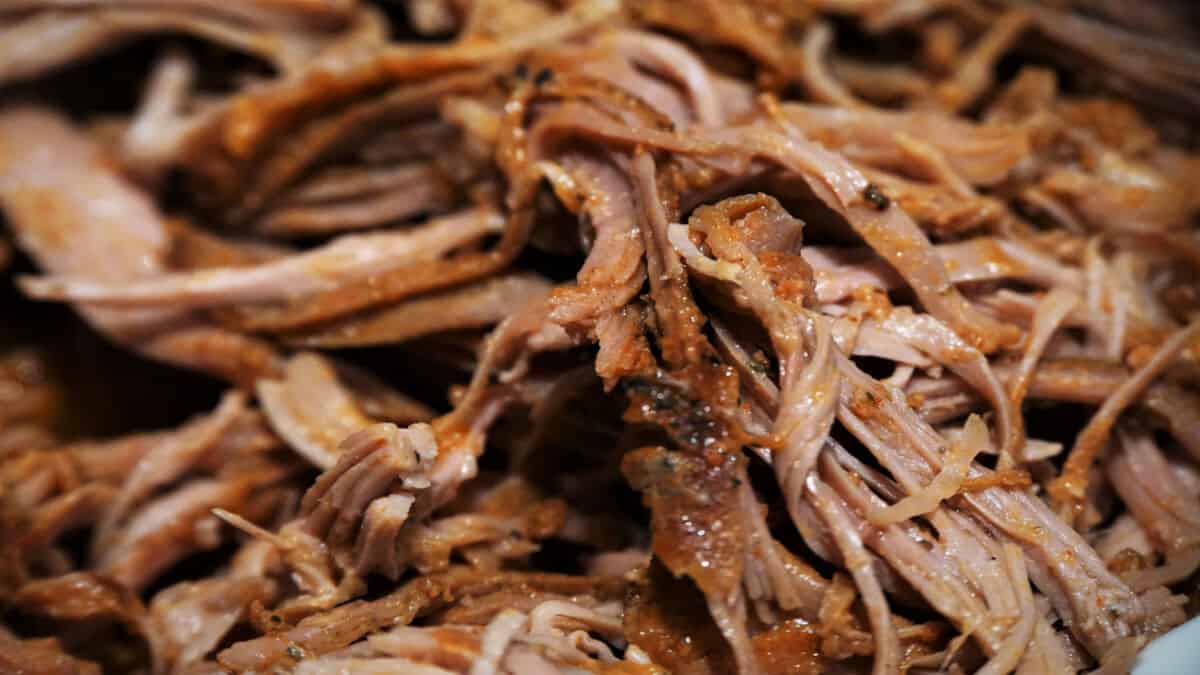
There are multiple reasons why we save pre-cooked ribs in the freezer or refrigerator to enjoy another time. Maybe you had a few leftovers from the last cookout, and you don’t want anything to go to waste.
But, saving your perfectly-cooked ribs for another time requires more than simply putting them in a storage container. You want to make sure your ribs stay tender and moist while stored, and by all means, avoid freezer burn.
In this article, you’re going to learn ideal ways to pack and store cooked ribs. We’re also going to share the best ways to reheat ribs, so they’re as succulent as the day they were first cooked.
One Style Does Not Fit all
How you reheat your ribs depends on which type of rib you cooked. We’re going to cover which methods go best with each type.
Sous Vide – Suits any Ribs
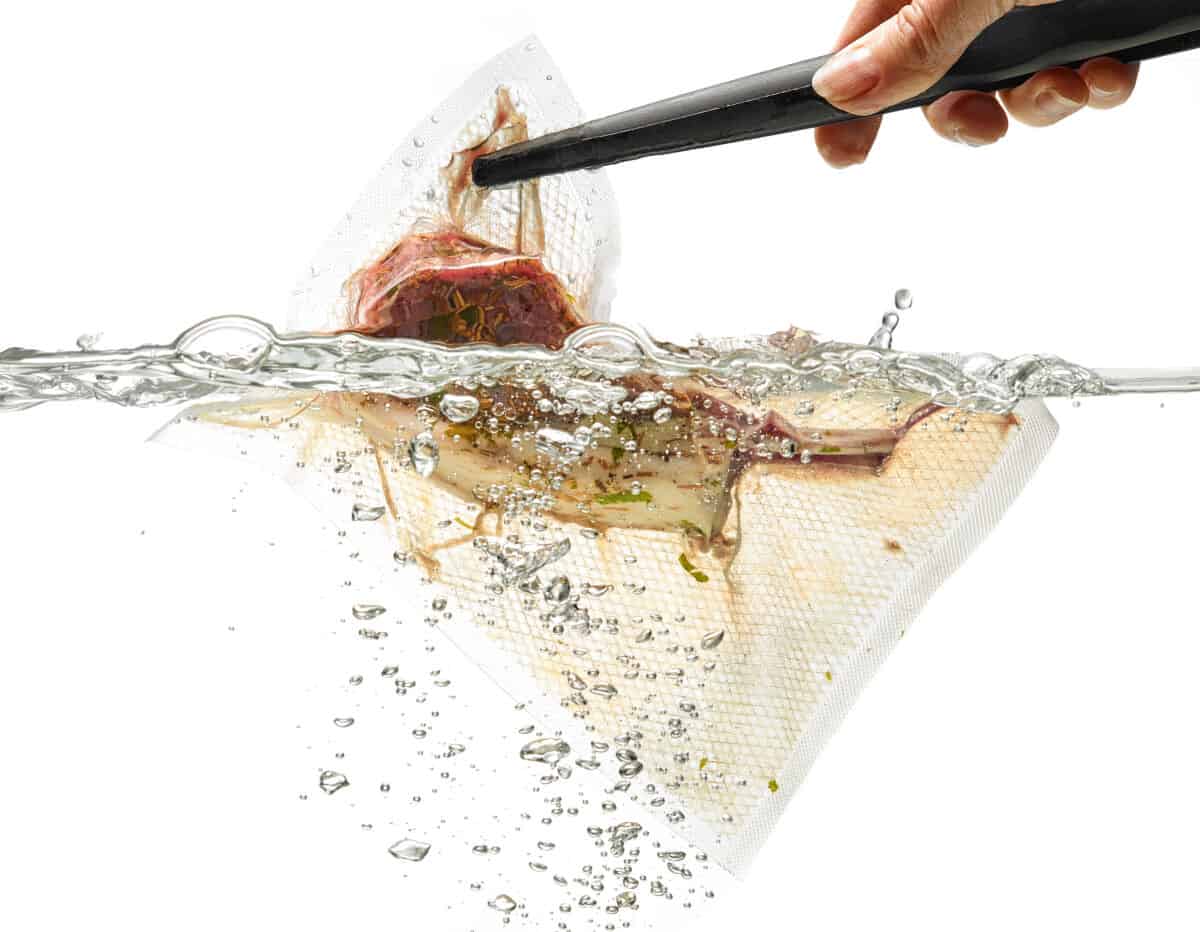
Sous vide isn’t as fancy as it sounds — it’s a technique that professional chefs have used for years, but never really bothered to share with the rest of us peasants. Despite the fancy name and professional status, all you do is heat your food in hot water.
Boiling water in a pot on the stove is pretty straightforward. The water boils at 212 degrees Fahrenheit (100 degrees Celsius), and it won’t get hotter than that.
To do the sous vide method, you have to place your meat in a sealed plastic bag, which you immerse in hot water. What you get is an even heat that slowly increases the meat’s internal temperature without the risk of burning or drying out.
The trick of the method is to get the water to a temperature just below the original cook. In other words, if you cooked your ribs at 106 degrees Fahrenheit originally, heat the water to about 155 degrees Fahrenheit to reheat the ribs.
If you vacuum-sealed the bag before storing the ribs, you can simply toss the rib bag into the hot water. However, if you didn’t vacuum-seal your ribs before storing, you’ll have to seal them in a watertight bag before reheating sous vide-style.
Sous vide isn’t a quick 2-minute job — it can take up to an hour to reheat the ribs, but it’s worth it in the end.
This method won’t lose you any moisture, and you don’t have to be hovering over the pot — set it to a low temperature and leave the ribs to hang out in their hot bath for 2 or 3 hours.
One downside to sous vide is that you won’t get a crust on the ribs. But what you will get is fall-off-the-bone goodness and a brand new cooking technique!
Sous vide is possibly the best way to reheat ribs, period. There’s almost no moisture loss, and no risk of overcooking and ruining them.
Reheating Ribs in the Microwave
One of the greatest convenience objects in the kitchen is the good ol’ microwave. There’s no need for us to explain how convenient they are or how microwaves revolutionized society’s approach to leftovers and quick-meals.
Now that we have the good out of the way, it’s time to hit you with some truth.
Many chefs and cooks avoid reheating ribs in the microwave like the plaque. But why choose the long route when you can just press a button and have your ribs ready in 30 seconds?
You see, a microwave doesn’t heat the same way an oven or grill does. Microwaves shoot radio waves through the food that agitate water molecules, causing them to vibrate and generate heat. The heat is then spread through the food and voila! Your food is hot — quick and easy.
Although your food will be hot and ready in less than a minute, it won’t do any good for the flavor.
Instead of creating a nice crust, the barbecue sauce will likely slide off and create a pool on the plate. It might even explode and splatter on the inside of your microwave, leaving a mess to be cleaned.
If you want a quick and effortless snack, I guess it’s acceptable to give your ribs a quick blast in the microwave.
But, if your goal is to reheat ribs and enjoy them, I’d say you better reheat your ribs in the oven, on the grill, or even better sous vide.
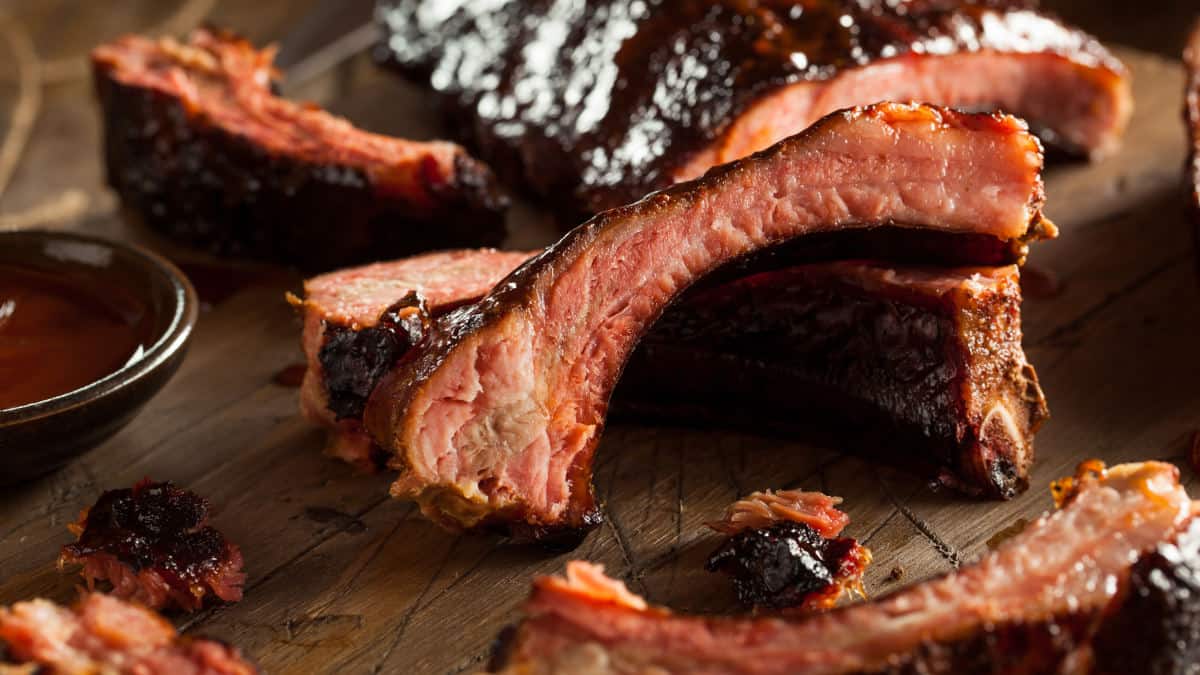
Reheating Baby Back Ribs
Although tender, baby back ribs aren’t the meatiest cut. With less fat than spare ribs or St. Louis ribs, they’re also more likely to dry out if not reheated properly.
But, if you handle your baby back ribs with care, they’ll come out as tasty as ever. Here’s a quick and easy method, and in our opinion the best way to reheat baby back ribs:
- Once thawed, place the ribs bone-side up on a broiling pan — add some barbecue sauce if you’d like.
- Alter the top rack in your oven so the ribs will be about 4 or 5 inches from the broiling element. Slide the pan into the oven.
- Give the ribs 3 minutes underneath the broiler, or until the sauce is bubbling.
- Remove the broiling pan from the oven and turn the ribs — give them another 3 minutes.
- When time is up, remove the pan and cover the ribs with aluminum foil loosely. Allow them to rest for 4 minutes before enjoying.
It’s crucial to watch the timer carefully — the broiler will be hot, and the ribs can quickly go from juicy to charred. If you prefer to eyeball it, make sure you keep an eye on them while in the oven.
Another method to try is to slather the ribs with your favorite sauce, then wrapping them tightly in a double layer of foil, heat for 40 to an hour (depending on the size) at 225 to 250 degrees Fahrenheit. They will be hot, steamy, and utterly delicious.
If you prefer your grill, you can easily use any of the two techniques we just described.
To broil the ribs on the grill you’ll first have to get it scorching hot! Give the ribs just a few minutes on each side, starting with the bone side down.
For the slower method, fire your grill to a low temperature of 250 degrees Fahrenheit maximum. Sauce and wrap the ribs and place them on the grill away from the open flames. It should take about the same time as the oven.
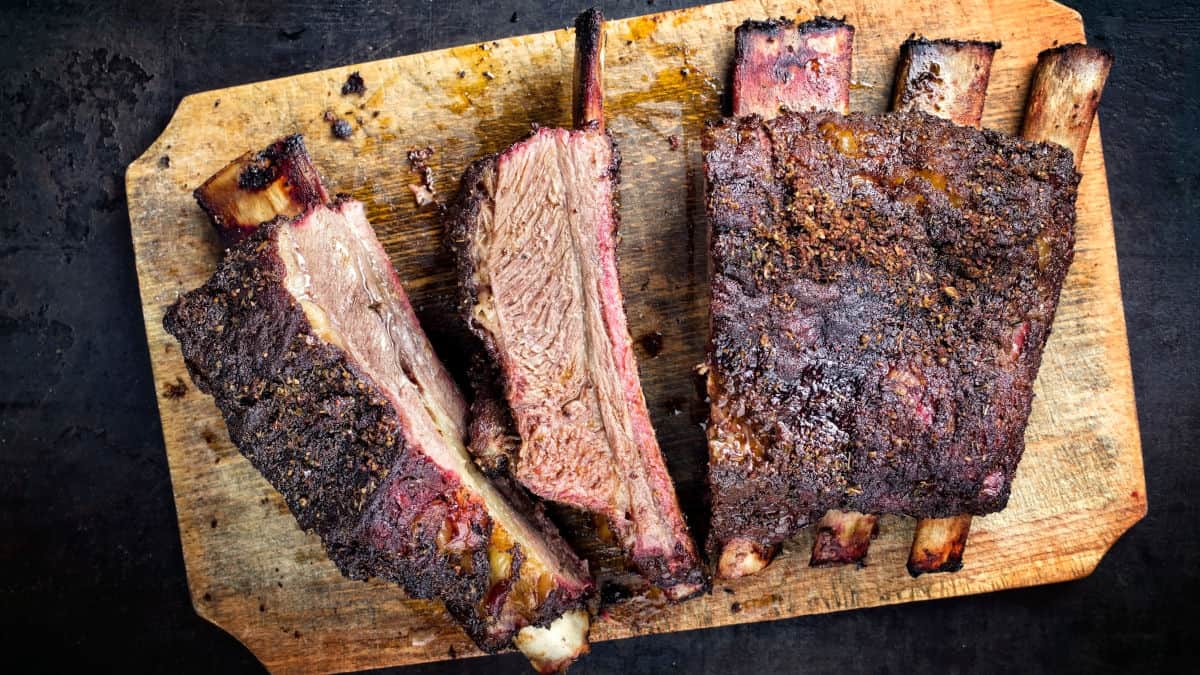
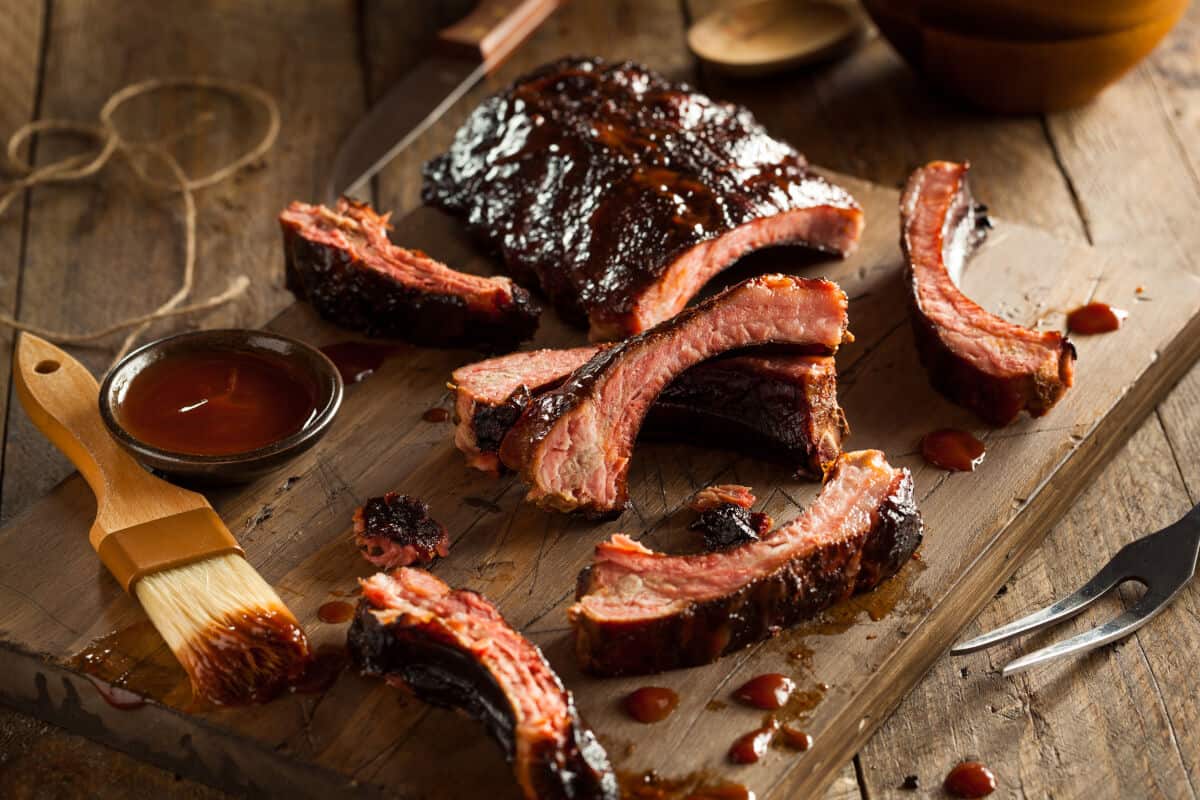
Reheating Spare Ribs/St. Louis Style

Unlike baby back ribs, these have a higher fat content, which equals more moisture! Because of this, they will need a slightly different technique.
Start by painting on some BBQ sauce — not as heavy-handed as the baby back’s — wrap them in foil.
Go for a low temperature here, not exceeding 250 degrees Fahrenheit, but give them a slightly longer time.
Don’t worry, the extra fat in the meat will prevent them from drying out.
Reheating Beef Ribs
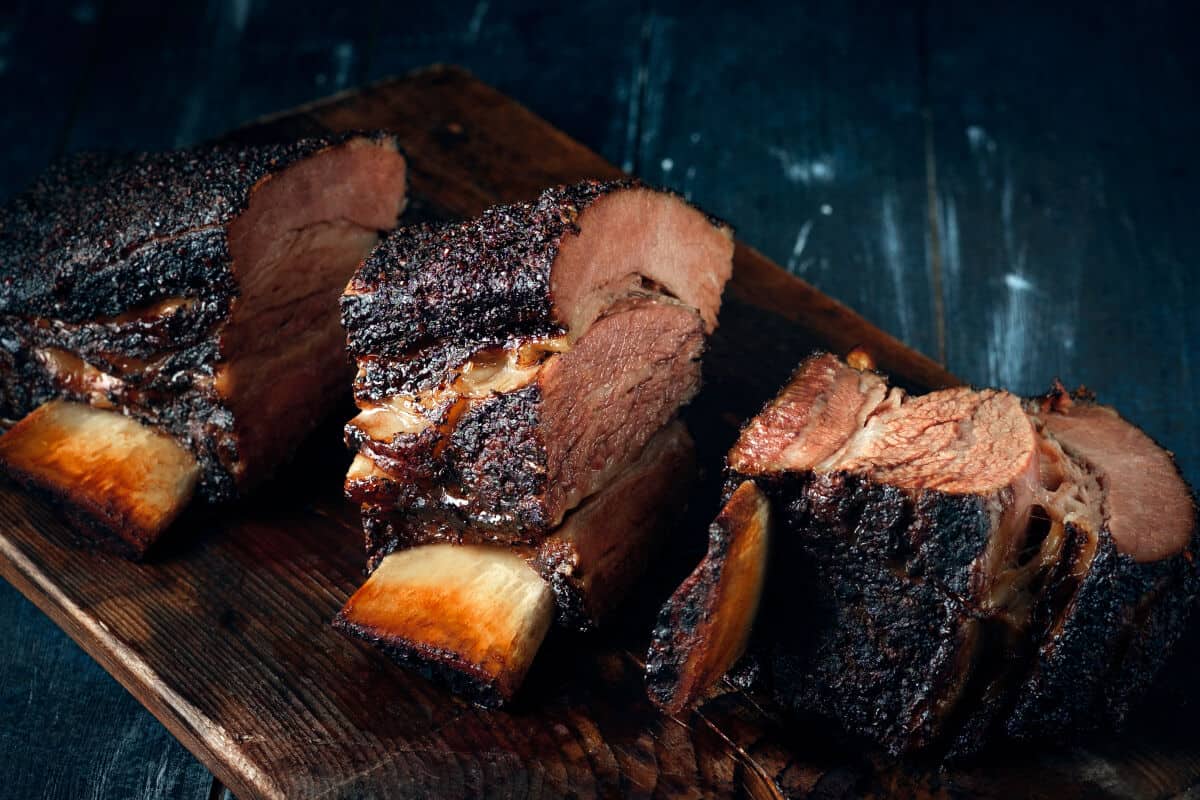
Reheating beef ribs is easily done in the comfort of your kitchen using your oven. It’s quick and easy, here’s what you should do:
- Preheat your oven to 250 degrees Fahrenheit. You could do it quicker by setting the temperature higher, but the moisture will be lost!
- Grab a piece of aluminum foil that’s big enough to wrap around the ribs without fitting tightly. They will need some space for the moisture to work. Place them on a sheet.
- Add about ¼ cup of water, broth or other liquid to the foil package. Close it by wrapping the foil similar to an over-sized envelope. Note that broth or another flavorful liquid will only add extra goodness to the ribs, but water will do just fine as well.
- Place the foil package onto a baking sheet and place it in the preheated oven.
- The ribs will need to reach an internal temperature of 165 degrees Fahrenheit (about 30 minutes). Use your instant read meat thermometer to ensure the ribs reaches the right temperature before serving.
- Remove the ribs from the oven and serve!
You can also try placing the ribs in a baking pan along with ¼ cup of water, then cover it with foil.
Now, we are a BBQ site, so we, of course, want you to use your grill whenever possible! Here’s a quick method to reheating your ribs on the ‘cue:
- Preheat the grill to 250 degrees Fahrenheit.
- Wrap the ribs in aluminum foil tightly and add another aluminum foil layer to lock in the moisture.
- Create an indirect heating zone on your grill and place the ribs there. Allow them to heat until the internal temperature reaches 165 degrees Fahrenheit.
- Add sauce, serve and enjoy!
Can Ribs Be Reheated More Than Once?
We’ve all cooked more food than needed at least once — it happens! It’s probably the reason you’re here, reading this article, right now. We’ve been over how to reheat ribs using various methods, in the oven and on the grill. But what about your uneaten leftovers? Can they be put away for a second or even third time?
Yes and no.
If you’ve put frozen ribs in the fridge to thaw but only end up using half of it, you can safely put the other half back in the freezer since it never got back into the 40 degree-danger zone.
However, if you thawed and reheated the entire rack and, yet again, had leftover, you could refreeze them. There is a higher chance of contamination due to the time spent in temperatures between 40 and 140 degrees Fahrenheit.
It’s also essential to consider what thawing, reheating, and refreezing do to the quality of the meat. We might be fussy over here, but if you want to save your food, go ahead and refreeze your leftovers.
But, if you appreciate tasty ribs, I’d say it’s best to get the most out of them the first time they’re reheated and compost any leftovers.
Top Tips for Reheating Ribs
As with cooking ribs, the biggest concern is drying them out as you’re reheating.
If you’ve ever been so unlucky to experience dried-out ribs, you know how unpleasant they can be — your dog might not even want em’. Tearing chewy, stringy, flavorless meat off the bone is quite a disappointment.
The trick of reheating ribs is only to cook it until it’s at a safe internal temperature, but not so long that it loses any moisture left. Master the balance, and you’ll be reheating future leftovers without a problem.
What is the Safe Temperature for Reheated Ribs?
According to the USDA, beef and pork have to be cooked to at least 145 degrees Fahrenheit.
This isn’t difficult at all; in fact, you’re probably already cooking your ribs at temperatures much higher than that at around 160 degrees Fahrenheit. This will kill all bacteria, making the meat safe for you to enjoy.
You should worry about new bacteria finding their way onto your meat after cooking before storing it in the fridge or freezer. The bacteria will slowly creep up as the meat cools after cooking.
If you pack up the meat nice and tightly after cooking and then store it immediately in the fridge, you can easily pull it out and eat it cold later on.
Some people prefer cold pizza, and some folks enjoy a cold rack of ribs — I will say, though, I’m not a member of that fan club.
However, if you’re unsure about when you put the leftovers away, it’s safest to heat it back up to the safe zone before consuming. Keep in mind; you can’t leave cooked meat out at room temperature for more than 2 hours.
After all, it’s entirely up to you, although I recommend that you always reheat leftover meat to a minimum of 145 degrees Fahrenheit. This is safer, but it’s also more enjoyable as the meat will closely resemble that of newly cooked.
For Best Results Add Moisture
Adding a little moisture assistance to the meat when reheating is more than fine. Add some liquid to the foil or broiling pan to kick some moisture back into the meat. You can even brush on a new layer of BBQ sauce for extra flavor.
Smart folks will save juices or drippings from the original cook to add when reheating the meat.
If you don’t want to add water, you can try out apple juice or apple cider for pork ribs. You can even spritz it over the top using a small spray bottle.
Broth, cola or beer works excellently with beef ribs as they complement the flavor well. You can either pour the liquid over the ribs or add it to the bottom of the foil wrap — or do both!
However, if you’re using cola, make sure you keep an eye on it, so it doesn’t burn.
Storing Leftover Ribs
Before you even begin to reheat the ribs, they need to be stored.
Proper storage of ribs is key to preserving the quality of the meat. Here’s what you should know to store your ribs for the next use safely.
When to get Your Ribs in the Fridge or Freezer
You must put your leftover ribs away promptly. It’s not safe for cooked meat to sit out at room temperature for long — not only will it go dry, but it will also become a bacteria magnet. Bacteria are found everywhere, and once they set their target to your leftover ribs, they’ll go in for the kill.
Cooked meat should be kept at over 140 degrees Fahrenheit or below 40 degrees Fahrenheit. This is also why a fridge has a recommended maximum temperature of 40 degrees Fahrenheit.
When the meat is off the grill, and it begins to cool, it enters the “danger zone.” It’s crucial to put any extra ribs or meat away ASAP; it should not be left out for more than 2 hours.
It is essential to get the ribs down under 40 degrees Fahrenheit as soon as possible; bigger racks of ribs will take longer to cool!
To help them cool faster, cut large pieces into smaller serving sizes prior to storage. This will help them cool quicker, but they’ll also be more reasonable for reheating later on.
How Long Can Cooked Ribs Be Stored?
Cooked ribs can stay well in the fridge for 3 to 4 days if stored properly — some people feel the ribs stay good up to a week in the refrigerator.
However, I highly advise that you put safety first and consume the ribs within four days. Older ribs are possibly contaminated, and they are a lot less tasty.
On the other hand, frozen ribs can stay “good” indefinitely as long as they’re frozen. Any food stored in the freezer is likely going to be safe for years to come.
Now, we say “good” because although the ribs are safe to eat, they might not be the tastiest. Most foods will become unpalatable after prolonged freezing. It’s best to eat frozen ribs within two to three months.
Signs Your Stored Ribs Have Gone Bad
A sour smell is a tell-tale sign that ribs or other meat have gone bad in the fridge. If you notice any slimy texture or coating on the meat, they’re also well past the “best before” date.
Most food will actually smell and look “bad” before they’re unsafe to eat. However, the ribs won’t taste good, so why even bother the risk? This might be a cliche, but: “when in doubt, throw it out.”
Steps for Safe Storage of Cooked Ribs
How your ribs are stored will impact how they reheat significantly.
As we’ve discussed above, getting them from point A to point B swiftly is essential. Here are the best ways to store ribs before you need them again.
In the Refrigerator
Storing your cooked ribs in the refrigerator is excellent if you’re planning on eating them within a few days. Again, your fridge should be below 40 degrees Fahrenheit to make sure the meat stays safe — I always keep mine at 38 degrees Fahrenheit to eliminate any doubt.
It’s essential to seal your ribs tightly — this will keep air out but moisture inside. An airtight storage container is fine; a zipper-style plastic bag is also A-ok. Or wrap it in plastic and then another layer of aluminum foil, make sure it’s tight.
A vacuum sealer is ideal as it ensures an airtight seal. This will also be easier if you choose to reheat your ribs sous vide-style — just transfer ribs and bag straight from the fridge to the hot water.
Add flavor and moisture to your stored meat by adding BBQ sauce or even the original drippings to the container or bag.
In the Freezer
If you’re not planning on eating your ribs any time soon, the freezer is the place to go. Similar to the fridge, a sealed, airtight container or bag is essential.
All the methods we mentioned for the refrigerator will technically work in the freezer as well; however, I’ve had bad luck with plastic containers. They seem to lose their seal in the freezer and end up getting frosty inside.
Again, vacuum-sealed is ideal, but wrapping the ribs in plastic and foil or throwing them in a zippered bag will also do just fine.
Prior to freezing, allow the meat to rest in the fridge to cool them down from the cooking temperature. The ribs will freeze quicker and better if cooled first.
Again, if you have sauce or drippings left, add it to the meat before freezing for extra moisture and flavor.
Conclusion
That was it, everything you should know on how to reheat ribs and store them properly.
We’ve been through many methods and techniques to preserve flavor and moisture throughout the storage period and reheating.
Much work goes into cooking ribs to perfection, whether it’s on the grill or smoker — you don’t want all of your effort to go to waste, right?
Try out some of the techniques above, and hopefully, you won’t be disappointed by dry, tasteless, and just plain sad reheated ribs again.
What are your tips for the best way to reheat ribs? Do you have techniques we didn’t mention here? Please let us in on your secret. We’re open to tricks, tips, and suggestions, so feel free to add yours in the comment section below.