How to Smoke a Ham
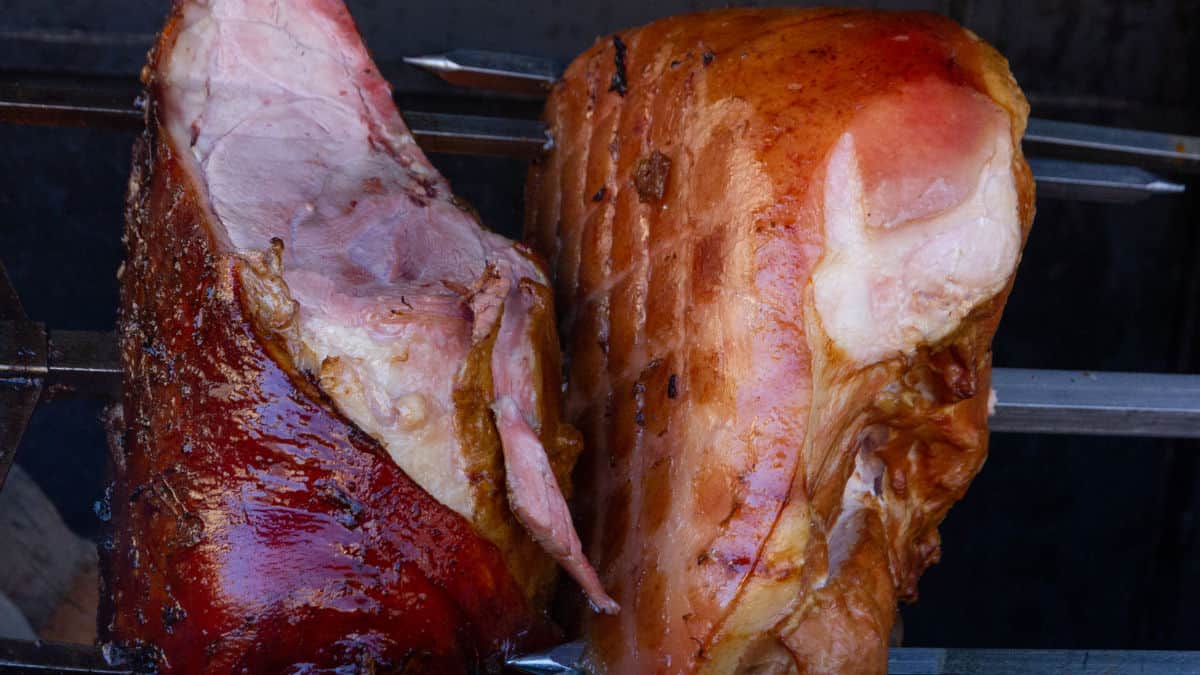
Smoked ham is an iconic and celebratory meat. It is a must-have in your collection of barbecuing recipes and smoking techniques. Check out BarbecueLogic’s tasty take on this enduring classic dish.
The Guide For Smoking a Ham
Do you know how to smoke a ham? If you don’t, you should!
There are many reasons to love smoked ham, aside from its sweet and salty flavors. There is also something relaxing and extremely satisfying about the ancient art of smoking meat. Perhaps it is because smoking meat is a practice that dates back to our cavemen ancestors, and thus we do it naturally. Or, simply put, we all just love juicy meat with delicious flavor.
It seems like everyone has a personal take on this most iconic and celebratory of smoked meats. If you conduct an online search on how to smoke a ham, or for ham smoking recipes, you will find that everyone adds a personal touch to the traditional ingredients.
The typical recipe calls for fruit juices, brown sugar, cloves, and aromatic herbs. Combined together, these ingredients achieve a tangy, sweet flavor that contrasts wonderfully with the salty nature of ham. No wonder it is such an enduring favorite for holidays and special events.
The Basics of Smoking a Ham
Here is a basic take on how to smoke a ham. This recipe can be tweaked to meet your personal preferences. These tips include:
- Smoking tools you need
- Ingredients to make the brine
- Additional technology involved in the smoking process
- The smoking process itself
Supplies
Here are the things you will need to successfully marinate, smoke, glaze, and cut your ham:
The Meat
The term “ham” is used interchangeably at times, which could confuse people on which cut is the proper one to use.
What we call “ham” refers to the area of the pig that covers the rump and thigh.
- You should get a ham that is already cured, or one that you can cure yourself, with some ideas in this article.
- Be sure that your ham is not fully cooked. The idea is for you to smoke it in its own juices and brine.
- Another consideration is the size of the ham. A ½ ham is typically the best choice for smoking. It has enough meat to evenly spread out the flavor. It also fits well inside any smoker.
- Lastly, you want to have skin on the ham. It glazes perfectly and adds a crunchy texture to the outside layer of the tender, juicy ham.
The Taste
The taste of a smoked ham depends exclusively on what you what your end product to be. However, all of us who love to smoking meats know about the importance of curing the ham with brine.
A traditional brine for ½ a ham can include, but is not limited to:
- 2 cups brown sugar
- 8 -10 teaspoons pink Himalayan Sea Salt or Adobo
- ½ cup Kosher salt
- 1 quart each of your favorite sweet fruit juices (apple and pineapple are typically favored)
- A can of regular cola
- Cloves or other aromatic herbs and spices
- 1 gallon of water
Choose the ingredients that you want to use. Boil all these ingredients in a gallon of water, and then let it cool completely before submerging the ham in it for up to one week.
No juice? No problem! Try a Rub!
If you prefer a dry-cure, you can also rub your ham with sodium nitrate and salt, or just plain adobo mixed with ground seasonings. Brown sugar can be added to a rub.
The secret to using a rub for seasoning is in the way you massage the rub into the meat. Most seasoned cooks (no pun intended) know that seasoning meat, such as ham, is all about the way the rub is massaged into the flesh. Hams have a specific curve and pattern. Those patterns are there to be followed along to better infuse the seasoning.
The Technology
This list comprises everything you will need to smoke, flavor, cut, and serve your ham.
- Electric or traditional charcoal smoker
- Sharp trimming knife to dig into parts of the ham
- Large bucket, large bowl, or cooler to place the ham in brine
- Electric (or traditional) smoker with top and bottom racks and water pan
- Woodchips (of any flavor)
- Conventional oven or torch (for the glaze, if you want to glaze your ham)
- Carving knives and forks
- Serving plate
- Passion and patience
- Meat thermometer.
Why are “passion and patience” included in the technology list?
Keep in mind that smoking a ham may take up to 10 hours. It is worth every minute. Smoking is an intentional cooking process meant to produce an extraordinary, final masterpiece.
Take that time to sit down with friends or family, grab your favorite drink, and relax. The aromas that will come out of your smoker will make you wait as much as you need to.
The love and patience that you put in the process will result in an amazing product. Passion and patience comprise the secret of the ancient science of smoking. These virtues are at the core of how to smoke a ham.
Smoked Ham Recipe
Once you’ve gathered your supplies, you can begin work on the recipe itself.
In general, this is more of a technique guide than a recipe, but there will be plenty of chances to spice things up along the way.
We’ll cover those as we go over the different steps in how to smoke a ham.
Preparing the Ham
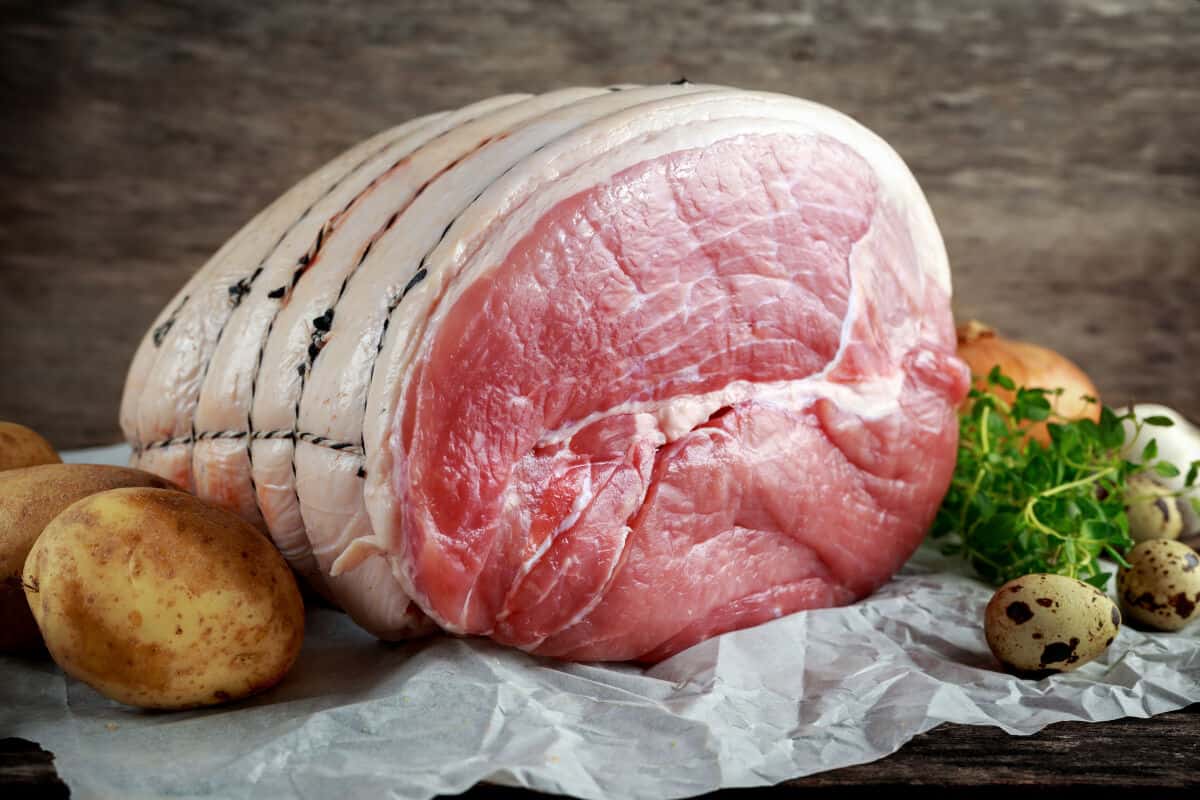
First, Take a look at your ham. Check for any excess or tough skin that you may want to remove, and do so using your trimming knife:
- Remove as little skin as possible; just trim out the “rough” ends.
- Remember how we suggested that you boil and cool the brine? Once it cools down, pour it in the large bucket in which you will dip the ham to marinate.
- Once the marinating is done, remove the ham from the brine and let it rest for half an hour before smoking it.
The Smoker
If electric:
- Fill water pan with water or fruit juices (or both)
- The wood chips are to be placed at the bottom of the smoker, on the burner, or mixed in with the charcoal.
- Plug in the smoker. Once it starts smoking, you will know it is ready.
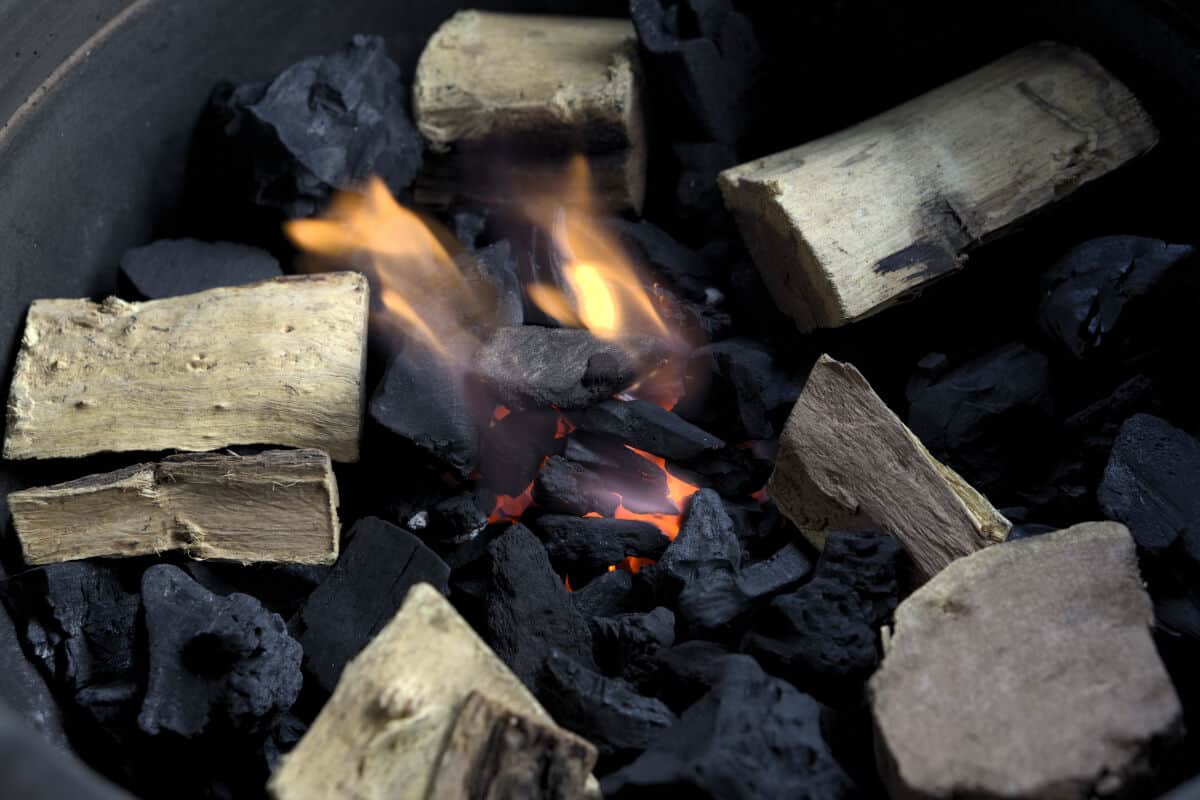
If traditional:
- Light up the charcoal in the chimney.
- Keep the coals burning for 10-15 minutes.
- Add coal/woodchips to the charcoal once poured into the smoker.
No chimney?
Just light up the charcoal for about 15 minutes before you add the meat the way you normally would. Coals turn greyish/white when heated through. Watch for that.
- Add a fresh layer of unlit charcoal to the smoker / grill, but you will also mix the hot charcoal with it.
- The charcoal, both lit and unlit, will go on one side of the smoker.
- The part of the smoker that is empty is where you will place the ham. This is called “indirect heat”
The wood chips:
- The trick to smoking meat is to infuse aroma and flavor. This is done by using wood chunks made of oak, apple, or hickory wood.
- As you prepare the coals, add those aromatic wood chips to the chimney as well.
The water pan:
- A water pan is sometimes included with smokers. Fill it with cold water at about ¾. Place it in the center section of the smoker.
- The water will help control the temperature and cook the meat evenly.
No water? No problem!
If you don’t have a water pan, use an equivalent, such as a foil baking pan.
Not ready to work with water? You can still smoke your ham without using any water. However, the water brings in the needed moisture that will make the meat more tender.
The Ham
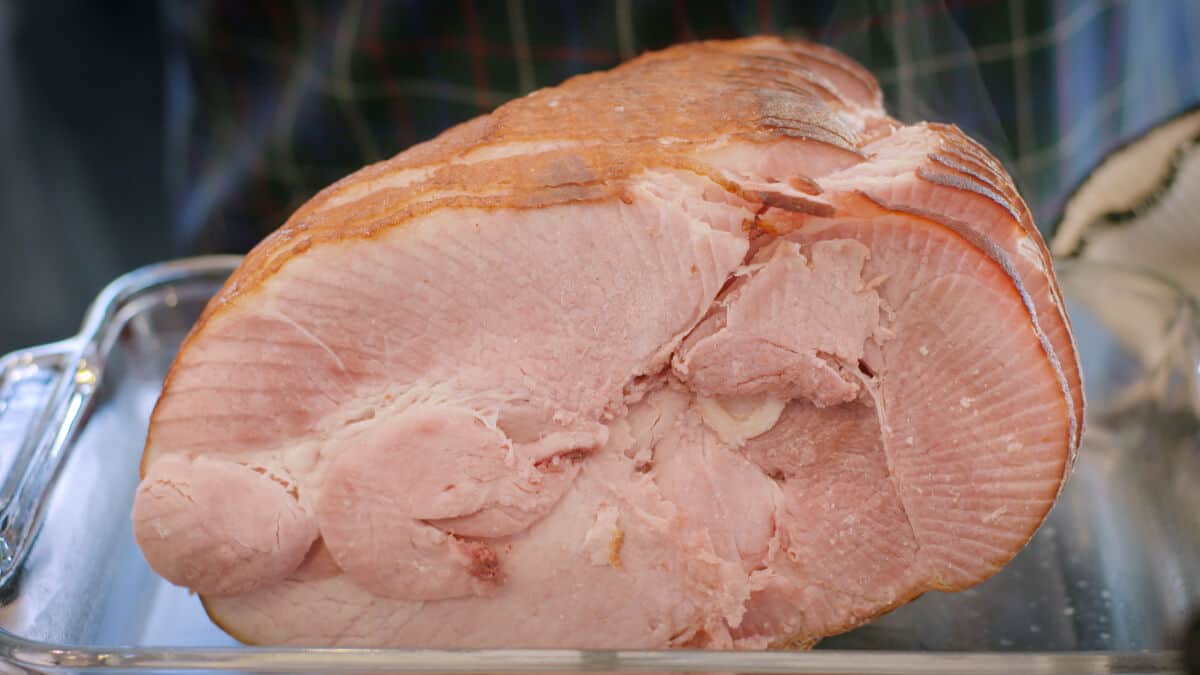
Your ham has been “resting” for about 30 minutes after it “swam” in brine for hours. Now that it is ready, place the ham in the smoker.
- The temperature for the smoker should not exceed 250 F or 121 C. A temperature of 220 F or 104 C would be ideal for ham. Cook it in indirect heat for about 10 hours.
- If your temperature is higher, manage the lower vent to prevent air from getting into the smoker.
- If your temperature has not yet reached the desired heat, add more coals or increase the amount of air moving through the smoker.
Most smokers come with a temperature gauge. If yours does not, use a digital thermometer to test the inside of the smoker through one of the holes on the lid vent.
The Glaze
While the ham is cooking, prepare your glaze. The glaze can be crunchy or syrupy.
If this is your first time making a glaze for smoked ham, or if you do not have a specific recipe for glaze, just use brown sugar and fruit juices.
Mix:
- 1/4 cup pineapple juice (try pineapple, cherry, or both)
- 1 cup brown sugar
- 2 tbsp. butter
- Cloves or other aromatic herbs
- Ensure that the ham reaches the internal temperature of 160 °F. Take it out of the smoker, and coat it with the glaze ingredients (the thicker the coating, the thicker the glaze.)
- Place the ham on a baking pan lined with foil.
- Set your oven to “broil” and put the ham in the oven. You will essentially “flash broil” the outside of the ham, allowing the glaze to melt on it. The longer you broil, the crispier the glaze will be.
Be sure not to broil too long, or else it will burn, and the meat will turn dry and rubbery.
The Cut
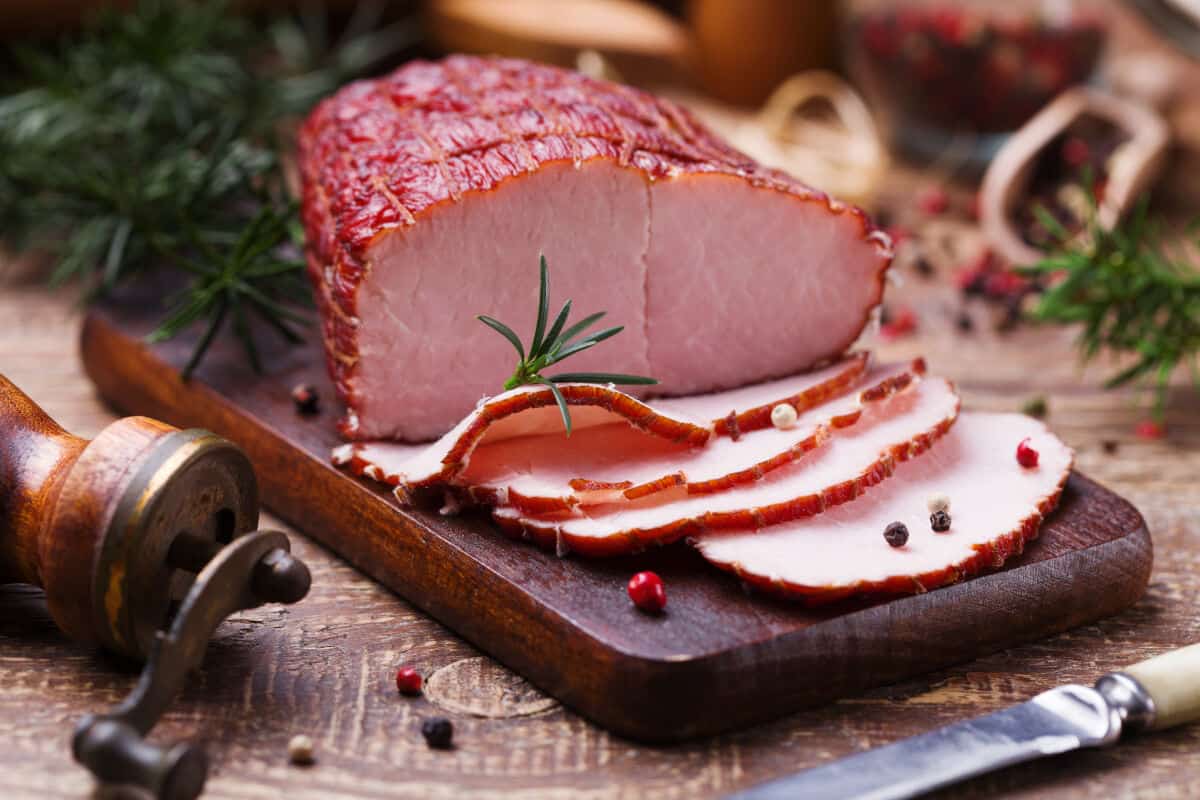
For some people, slicing big pieces of meat is a huge challenge. They fear ruining the presentation of the dish. This is a real dilemma.
It is wise to observe the natural ridges and curvatures of the meat, in order to decide how to slice it. If you are not sure of how to do it, follow these tips:
- Place the ham on the cutting board, on its flattest side.
- Get your largest knife to cut.
- Cut around the center bone.
- Ham has a natural, spiral cut. All you need to do is to find the seams of fat that face the bone, and cut along those parts.
- Here is a great tutorial to follow.
Conclusion
The right technology, the best cut of ham, and the proper ingredients, are the success factors on how to smoke a ham.
Patience and passion are also part of the process. After all, the ancient art of smoking meat goes back to our Stone Age ancestors.
The combination of meat, fire, wood, air, and smoke creates a culinary experience that is worth the time it takes to complete.
We really hope you’ve enjoyed this tutorial. With so many celebrations taking place in a typical year, ham is your go-to choice for all your needs.
A traditional ham guarantees tender, juicy meat that can be glazed or rubbed to perfection. It is easy to cook, and it guarantees that everyone will eat and come back for seconds.
Thank you for turning to us on learning how to smoke a ham!
Do you have any other ideas for smoking and glazing ham? We would love to hear them! Sound them out in our comments section!

