This pre-cook might seem a bit unnecessary, considering it doesn’t actually cook the meat, it’s still a crucial step in achieving a deeper flavor.
Searing is a well-known technique when cooking meat in a pan, but it’s also an essential part of grilling — and searing on a hot grill will add another world of flavor to the food.
Searing is essentially browning the food you’re cooking, but what exactly happens during this process? It’s pure science!
So, put on your goggles, grab a notepad and a pen and let’s get cooking!
Defining Searing
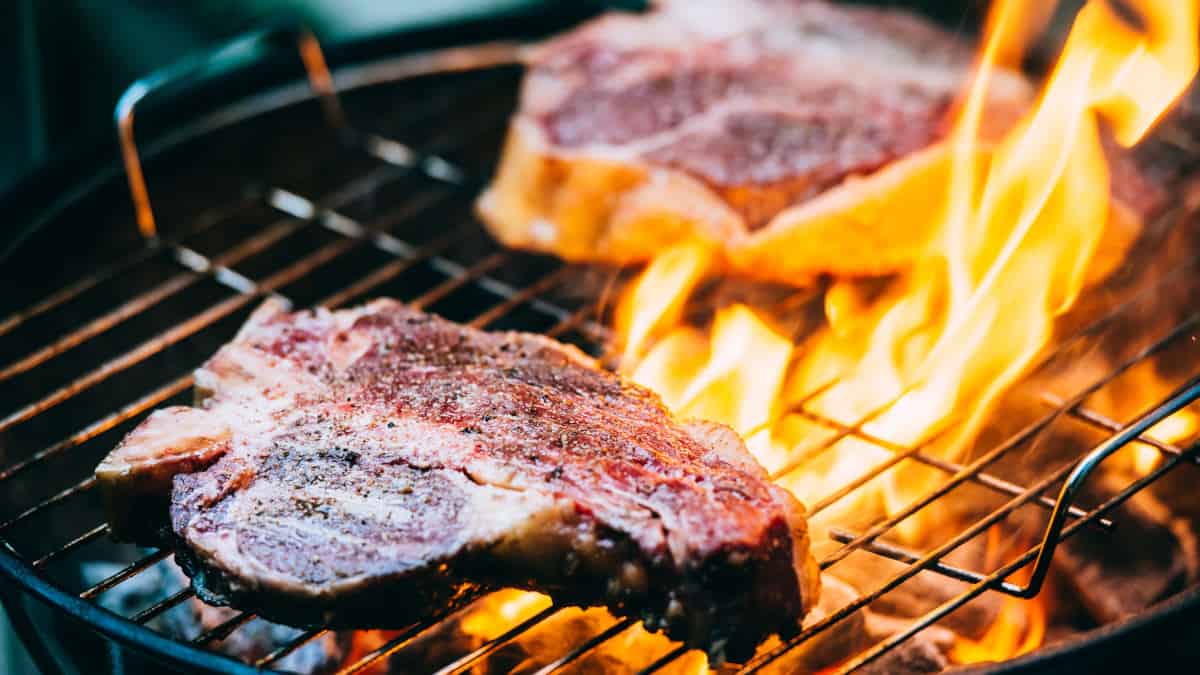
The definition of searing is to cook something (usually meat) over high heat until it’s browned and a crust is formed. Searing a steak or searing a burger are terms often used in grilling — but the searing technique is used in many cooking methods, including roasting, sautéing, baking, braising and more.
Searing might seem like an easy thing to do, but it actually requires some practice and experience to master it. Once learned, you will be able to taste a significant difference in the food you’re cooking.
As the crust forms and the meat turns brown, an aroma and out-of-this-world taste are added to the meat — all thanks to the Maillard reaction, which we’ll get more into in a moment.
There’s a Difference Between Searing and Burning
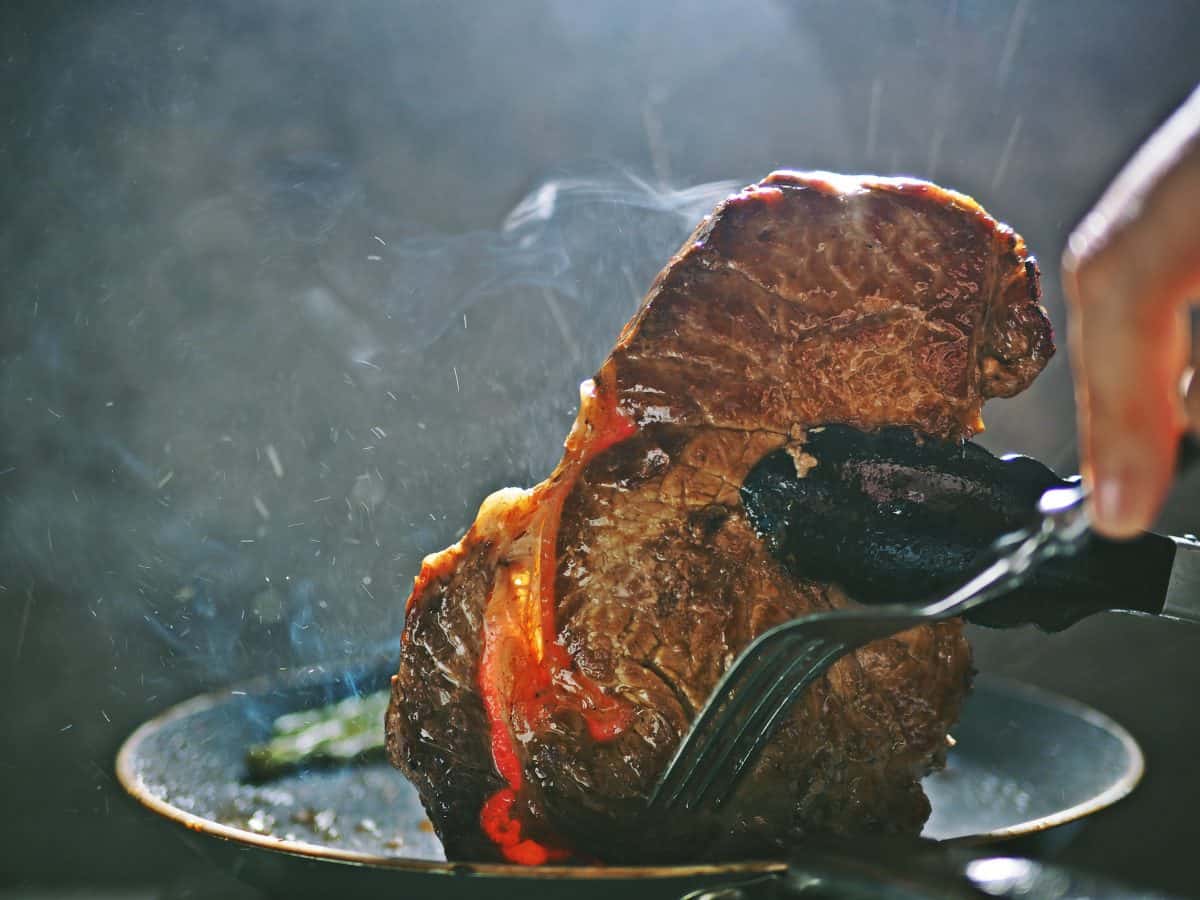
Searing might seem like a fancier word for burning, which it is in a sense — but it’s more of a controlled burn, not one that leaves your food charred and uneatable. It’s merely a brief but intense period of cooking.
Searing is done quickly to only cook the outside of the meat. You’ll then finish the meat off on a lower heat until it reaches a safe internal temperature and your preferred doneness.
There are different searing levels, depending on how brown or crisp you want the crust. Some food-lovers enjoy charred meat, a-la-Chicago-style — it definitely adds an intense flavor!
You Really Should Sear All Your Meat
Burning your meat intentionally may not seem like a smart idea, but giving your meat a quick sear will not only enhance the flavor but also add another texture.
Your guests are sure to be impressed by your professional technique — and pleased about the great meal they get to enjoy!
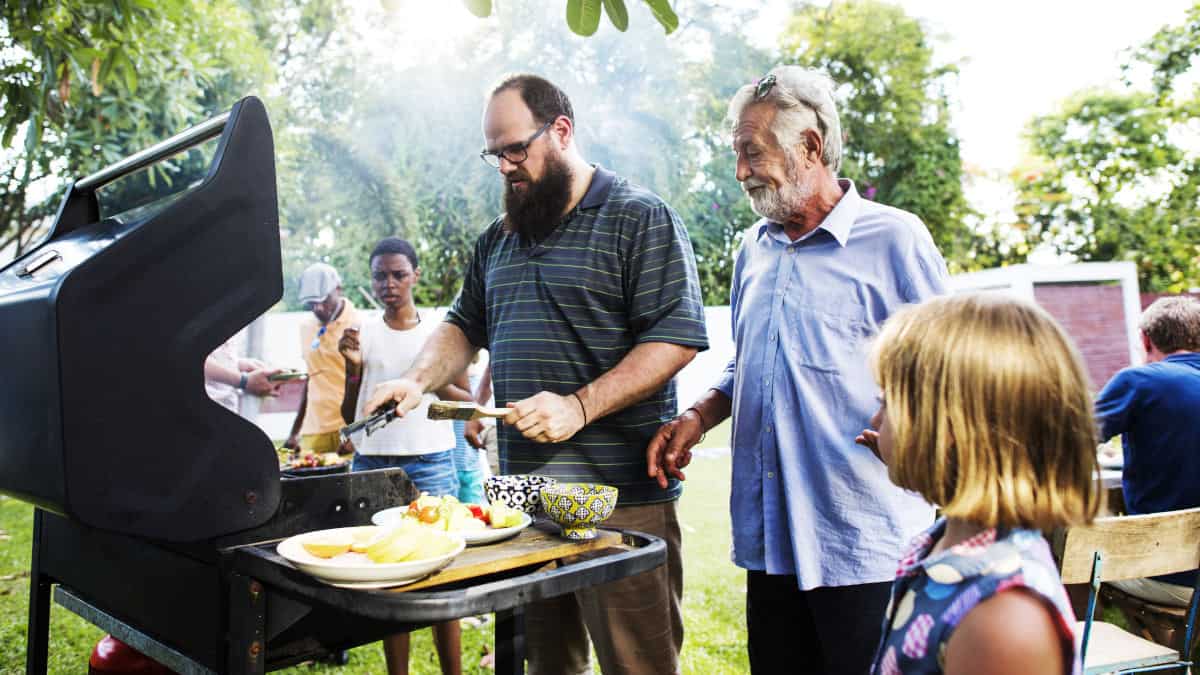
You should sear almost all meats during the cooking process, and can do so on a wide range of equipment from your outdoor grills, to a simple pan on the hob.
For me, the best searing is done on a good charcoal grill as the burning coals add even more flavor with a lick of smoke.
But if you’re a user of gas grills, it can be just as good. They can reach the necessary temperatures, and drips onto flavorizer bars also add a lick of smoke.
Does Searing Seal in Juices?
If you know any experienced cook or have watched cooking TV shows, you have undoubtedly heard the phrase “locking the flavor in,” or “sealing the juices” at least once or twice.
But what do these phrases even mean? Does searing meat create an invisible barrier that actually locks moisture inside the meat?
Well, this is a grave misconception that can be traced back to Germany in 1847. That’s right. The German chemist, Justus von Liebig, published a paper claiming that high-temperature cooking, such as searing, would create a crust outside the meat while locking juices and moisture inside.
Liebig’s hypothesis has been proven wrong several times since then — the first to correct the chemist was the University of Missouri in 1930.
The University conducted a study where it was shown that more moisture was lost when searing as opposed to cooking over a consistent heat. Alas, the myth is still among us, and there are still many cooks and restaurants that use searing as a way to “lock” in the juices and flavor.
Searing Before Slow Cooking
So, what we concluded above is that your meat won’t be any juicier if you sear it — it might actually be slightly drier — but why do cooks do it?
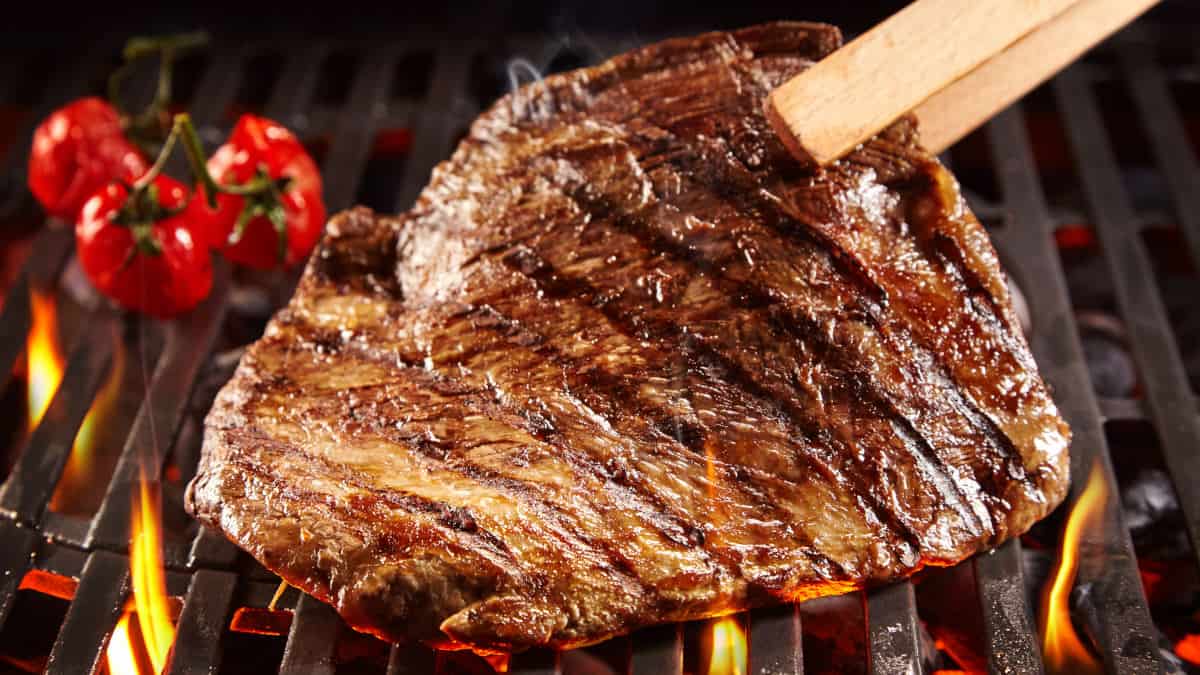
Searing basically introduces a new appealing flavor, texture, and color of the meat. The caramelized exterior, crispy crust, and medium-rare center is a combination no meat-lover can resist.
Although studies have shown that the meat is slightly drier when seared, your mouth (and mind) will be tricked! You see, as you gently cut into that crispy exterior and your mouth meets the tender center, you won’t feel dry.
Additionally, it’s essential to consider that we often eat with our eyes — so that browned exterior will make any steak look ten times more delicious.
The Maillard Reaction
What is it with Europeans and their food-science? I’m not complaining, though!
The entire process of browning the meat is an example of the “Maillard reaction.” French chemist, Louis-Camille Maillard, was the first to describe the Maillard reaction. It’s a chemical reaction that occurs as sugars, and amino acids are reduced.
If you think the Maillard reaction is only possible in a professional kitchen, think again. In fact, it’s a common occurrence when we cook everyday foods, such as; Fried onions, french fries, coffee, cookies, and more. There are so many more foods and drinks to add to the list!
Now, caramelizing and browning shouldn’t be confused — although the results might look similar, the chemical reactions are different.
Caramelizing requires higher temperatures and pyrolysis, which is the decomposition of organic materials due to a lack of oxygen and exposure to high heat.
Maillard is a reaction between protein and carbs or sugar. As the protein is exposed to high temperatures, it breaks down into amino acids — the acids react with the sugar or carbohydrates.
As you can see, for the Maillard reaction to take place, protein is required. Therefore, foods containing less protein are less likely to brown but more likely to caramelize. Most vegetables will caramelize, not brown.
Searing adds Color, Not Flavor – WRONG!
Some have suggested that searing your food doesn’t do anything for the flavor — it only makes the meat look tastier.
When cooking and eating meat, our brains have been conditioned to think that “brown” equals “cooked.” The combination of the appealing color and enhanced aroma has fooled us into thinking seared meat tastes better.
Although there’s something to this, I don’t believe searing is bamboozling or brainwashing our minds and tastebuds. The same phenomenon happens in other forms of cooking, brewing, and baking, but all are delicious even when you can’t see them.
Quick question: Have you ever had a piece of a rich chocolate cake or sip of a cold beer that tasted worse in the dark? Point proved.
How to Sear Your Meat
You can sear meat on a grill, a pan or an oven — but you can’t brown in a microwave. Microwaves vibrate water molecules present in the food, to create heat from within — which is why microwaves are mostly used to reheat leftovers. But, because everything happens from within, it will prevent the exterior from browning.
No matter where or how you sear your meat, there are some essential tips to keep in mind to help you get the best results.
- Remove any excess moisture — use a paper towel to pat the meat. Removing excess moisture will help the surface brown instead of steam.
- Salt in advance — salt your meat an hour or more before searing. Salt extract moisture, so if you do it a short time before searing, the meat won’t have time to re-absorb it. If you forgot to salt in advance, add it right before searing the meat.
- Hold the pepper — until after browning the meat. Black pepper will burn at the high temperatures; it will also carbonize, giving it a bitter taste.
- Consider the grease — avoid olive oil, butter, and other oils that burn and smoke at high temperature.
- Use tongs — avoid forks or other sharp utensils when flipping or handling the meat to not pierce it.
- Flatten irregular meat — irregular-shaped meat will be trickier to sear and cook. Use an iron to flatten it before cooking.
- Use heavy pans — if you’re pan-searing, grab a thick, heavy pan, ideally cast-iron.
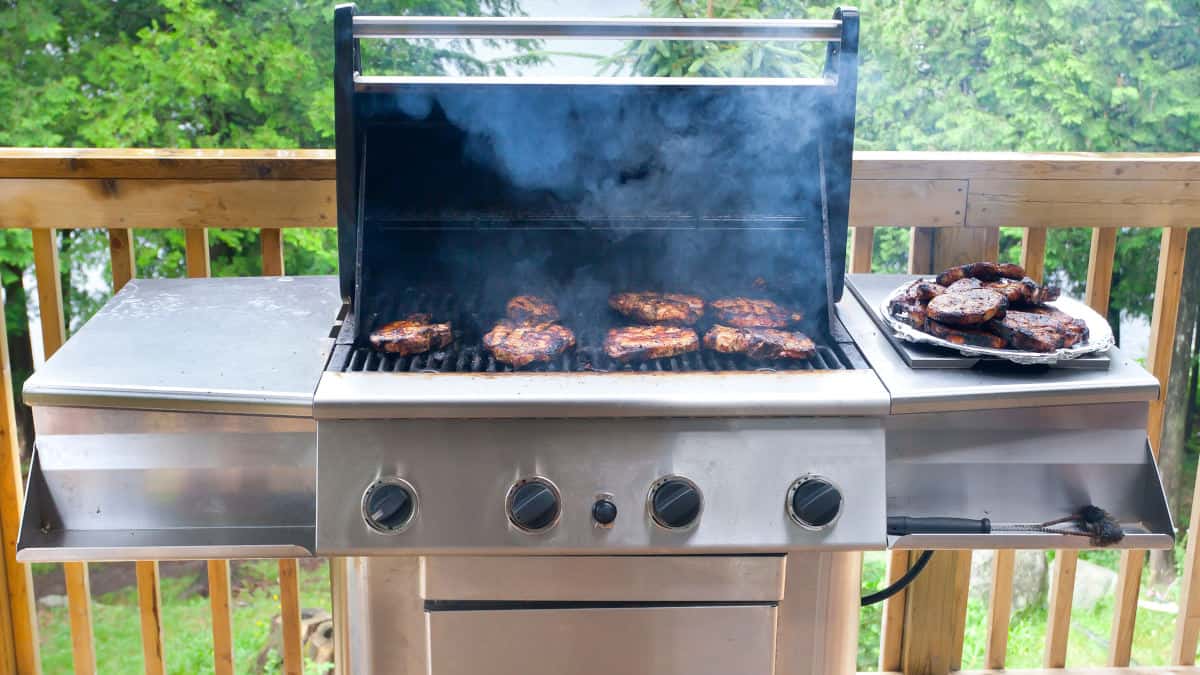
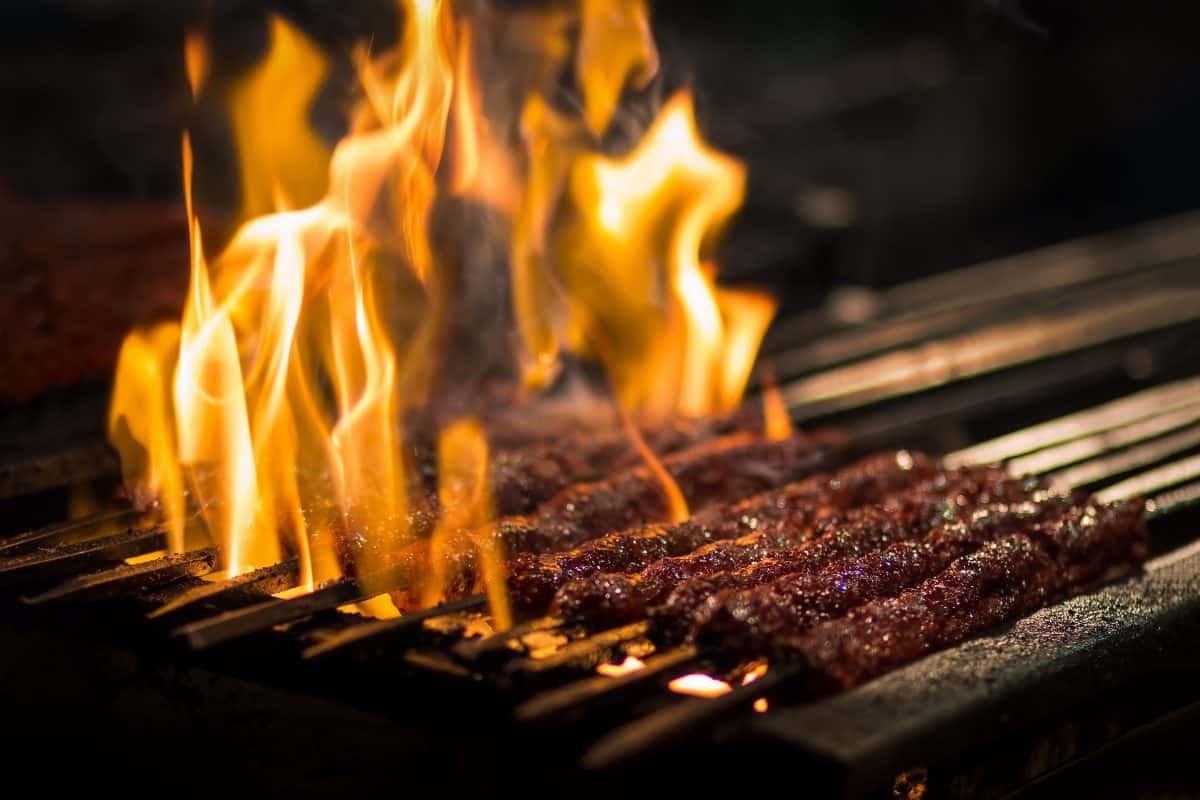
How to Sear on a Grill
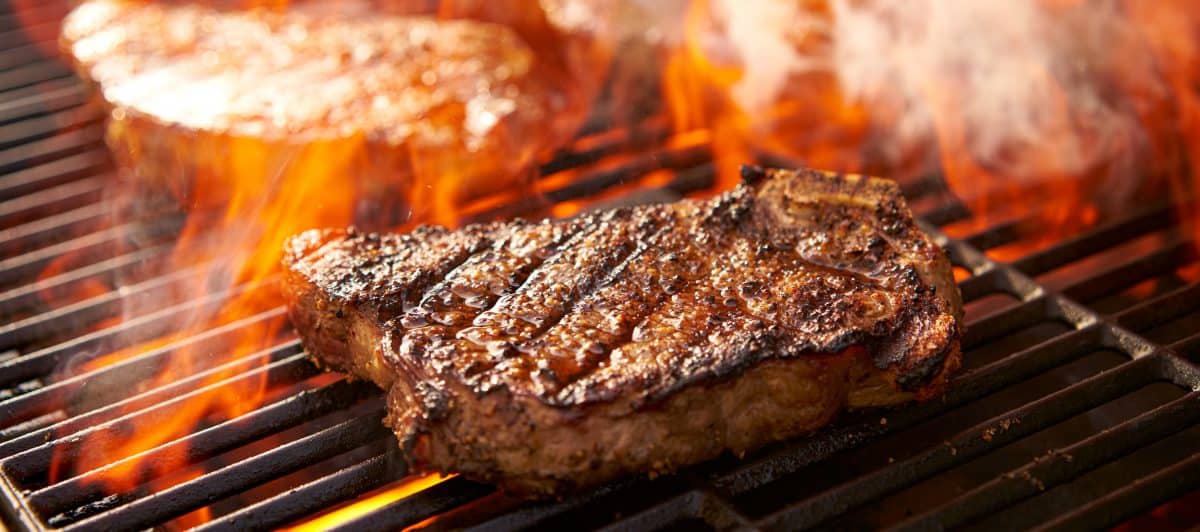
Grilling is my favorite way of cooking (hence the reason for this grilling site). Nothing beats the taste and smell of grilled food, especially meat fresh from the ‘cue!
So, if you want to master how to sear meat on a grill, listen up:
- The optimal temperature for searing is at a minimum of 500 degrees Fahrenheit. To achieve this, you should preheat the grill for at least 20 to 30 minutes before cooking. Not only will the grates be ready, but the temperature will also burn off any residue from the previous grilling session.
- Remove the meat from the refrigerator before cooking to give it time to reach room temperature. This will essentially speed up cooking time and reduce contraction as the meat hits the hot grates. Keep in mind that meat is fibrous, so it expands and contracts depending on the temperature.
- Once the meat is on the grill, leave it with the lid open for about 2 to 3 minutes. The time varies depending on the meat’s thickness.
- When flipping the meat, move it to an unused side of the grates — this ensures the temperature is still high. Repeat the last step and give the meat 2 to 3 minutes with an open lid.
- Use your instant-read thermometer to check when the meat is done. When the internal temperature is safe and to your preferred doneness, remove it from the grill and let it rest briefly prior to serving.
- If you’re cooking thicker cuts of meat, you will have to cook it additionally after searing. Do this by moving the meat to an indirect cooking zone. That means away from the heat source. Let the meat finish over indirect heat until it reaches a safe temperature.
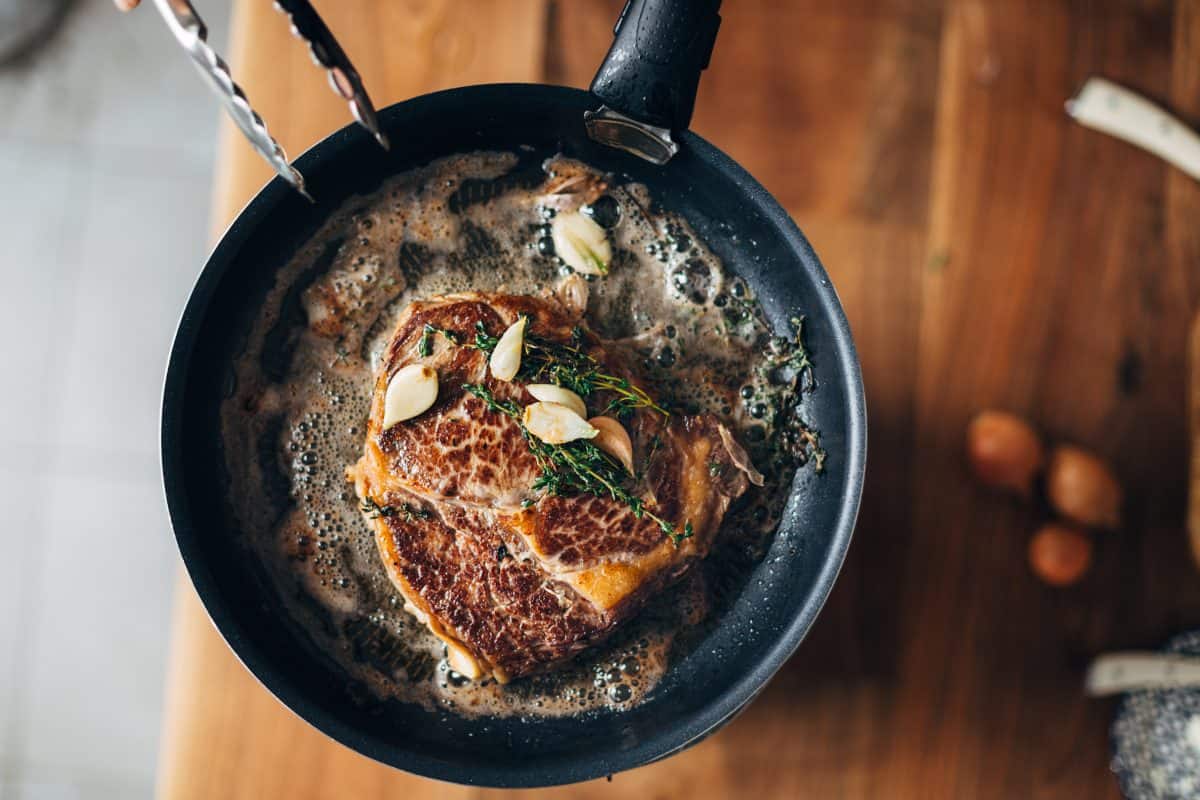
Pan Searing
When we aren’t grilling outdoors, we’re using the pans in the kitchen. Either way, you can achieve a nice sear using a heavy-duty pan, here’s how:
- Start by preheating your pan to medium-high heat. You can test the pan by adding a few drops of water — if it’s hot enough, the droplets should dance on the pan.
- Add a small amount of canola, peanut or another heat-resistant oil. You can even use shortening or fat.
- Place the meat into the pan carefully — the oil hot and might splatter.
- If possible, keep the meat on one side of the pan; this will leave a “hotspot” for the other side once you flip it the meat.
- When the meat is on the pan, don’t touch it. There’s no need to move it around or lift it to see how it’s doing. However, you can swirl the oil slightly to ensure it coats the meat’s entire bottom side.
- Give it a couple of minutes, then use tongs to lift it slightly to check on the progress. It should be browning nicely and perhaps even have a crust if you added seasoning or marinade. It shouldn’t be black.
- When one side is beautifully seared, flip it carefully using tongs. If you’re handling a large roast or another cut of meat, you might need to prop it up or hold it using the tongs to sear all sides and ends. Once you’ve browned one side, carefully turn it over and do the other side.
- Once the searing is done, cook the meat over a lower heat to finish it off. You might have to finish it off in the oven or another pan.
Oven Searing
Searing in the oven is possible, but it isn’t as quick as a pan or grill.
I always recommend to use a skillet or pan for searing if the grill isn’t an option, but I guess if you don’t have a good pan for high-heat, the oven is your best bet.
There are various ways to brown different types of meat using an oven. For example, a roast should be seared at about 100 to 125 degrees Fahrenheit above the roasting temperature, usually at 350 degrees Fahrenheit. This means you have to preheat your oven to a temperature between 450 and 500 degrees Fahrenheit, depending on the roast.
Conclusion
Searing might not be a way to “lock in the flavor or juices,” but it’s certainly a way to enhance the flavor and texture of the meat — unless you’re one of those who believe the tasty browning deceives our tastebuds.
Being able to sear your meat to perfection is a skill many cooks strive for, but it does take practice. You’ll know how long to sear different cuts and strike the best balance between an alright-sear and a great sear with experience.
So, what are you waiting for? Get out there and sear your next meal using a pan, grill, or oven!
Tell us about your experience in the section below — do you believe that searing is merely a way to trick our minds into thinking the meat is cooked and delicious? Let us know!